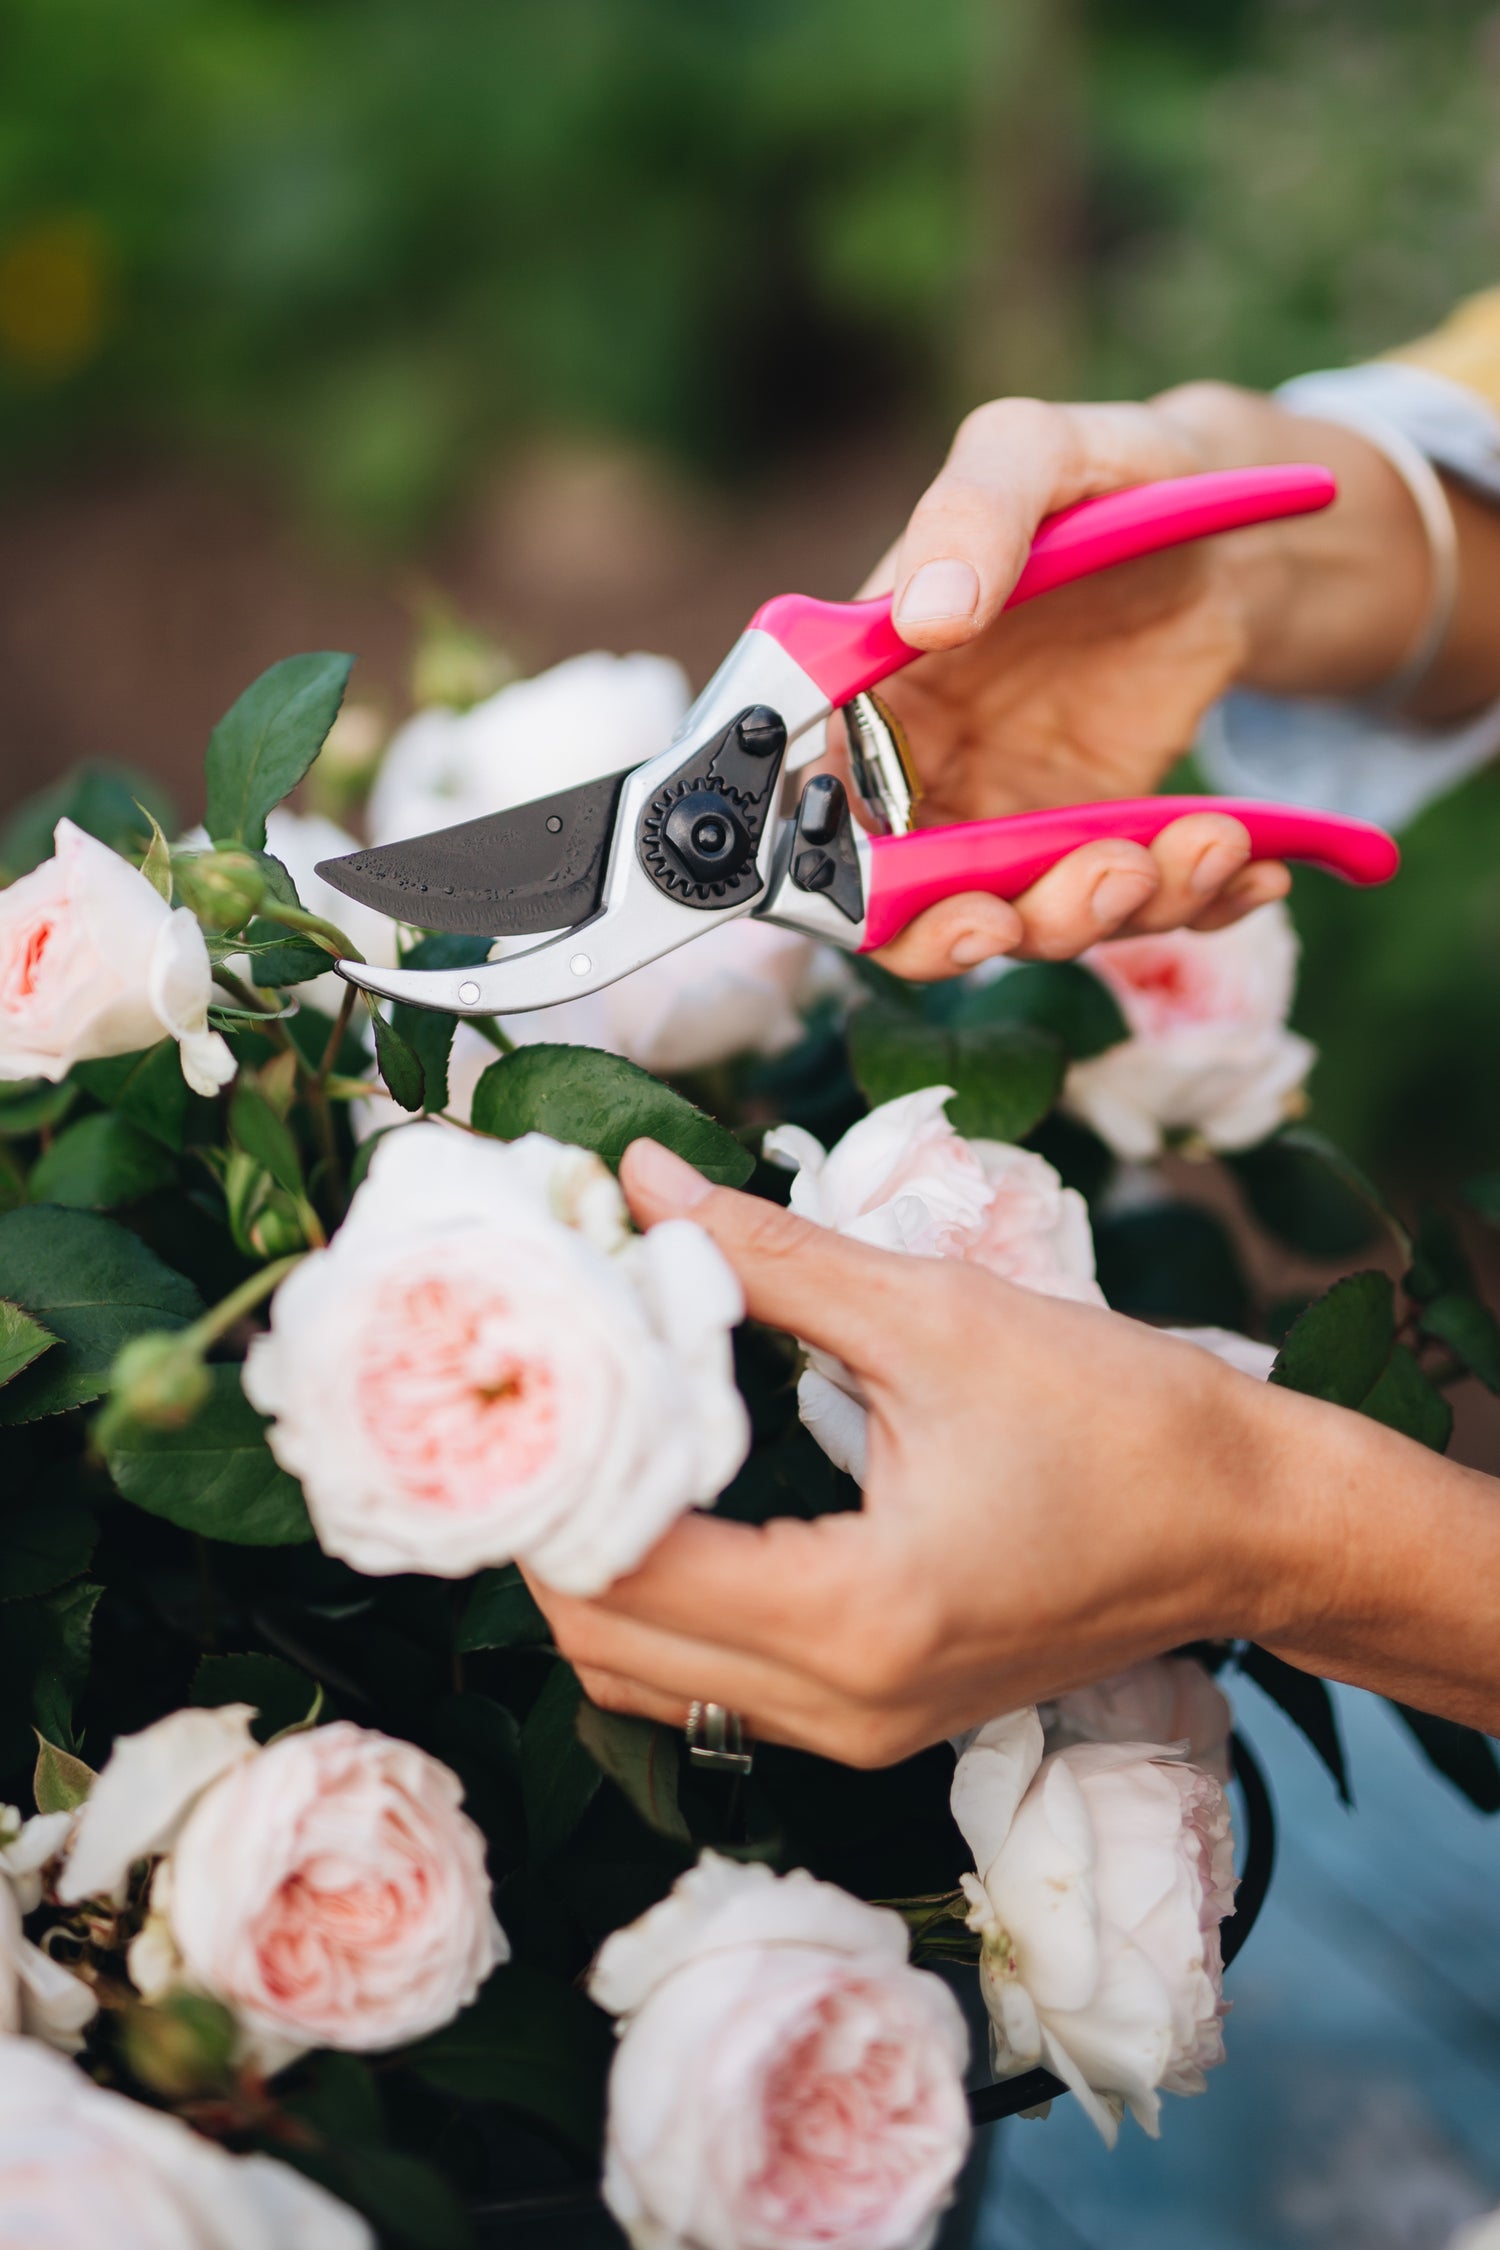
Hey gardeners! Can you believe it’s August already? The garden is bursting with textures, colors and our veggies are practically jumping out of the ground. But as we all know, a thriving garden means a bit of upkeep. Don’t worry, though; we’re all in this together. Let’s chat about the must-do chores for August, so, put on your favorite gardening hat, grab a glass of your favorite cocktail, and let’s get our hands dirty!
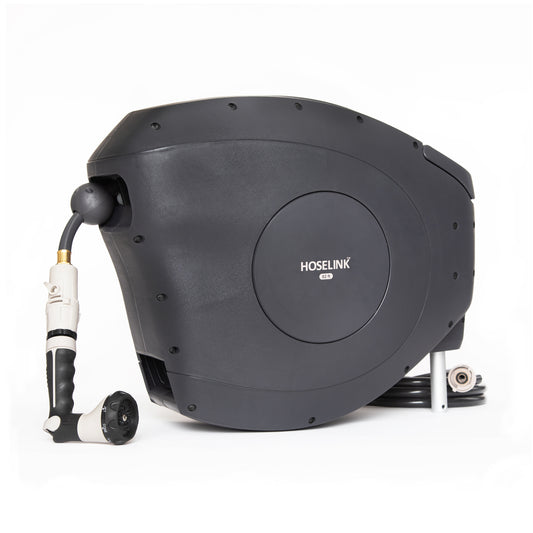
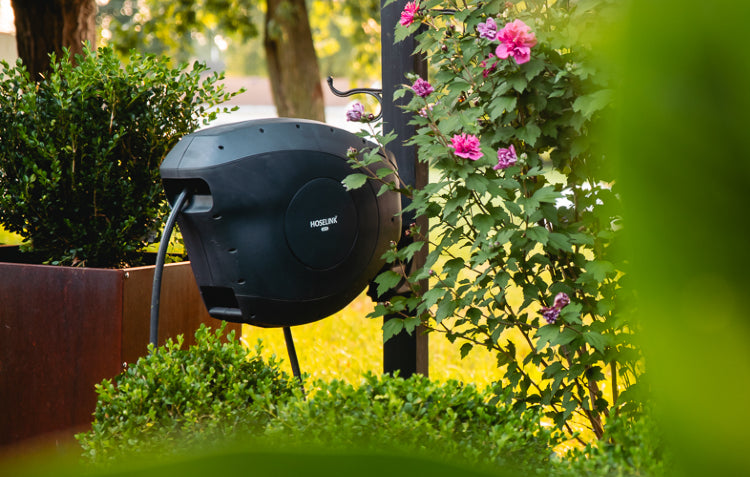
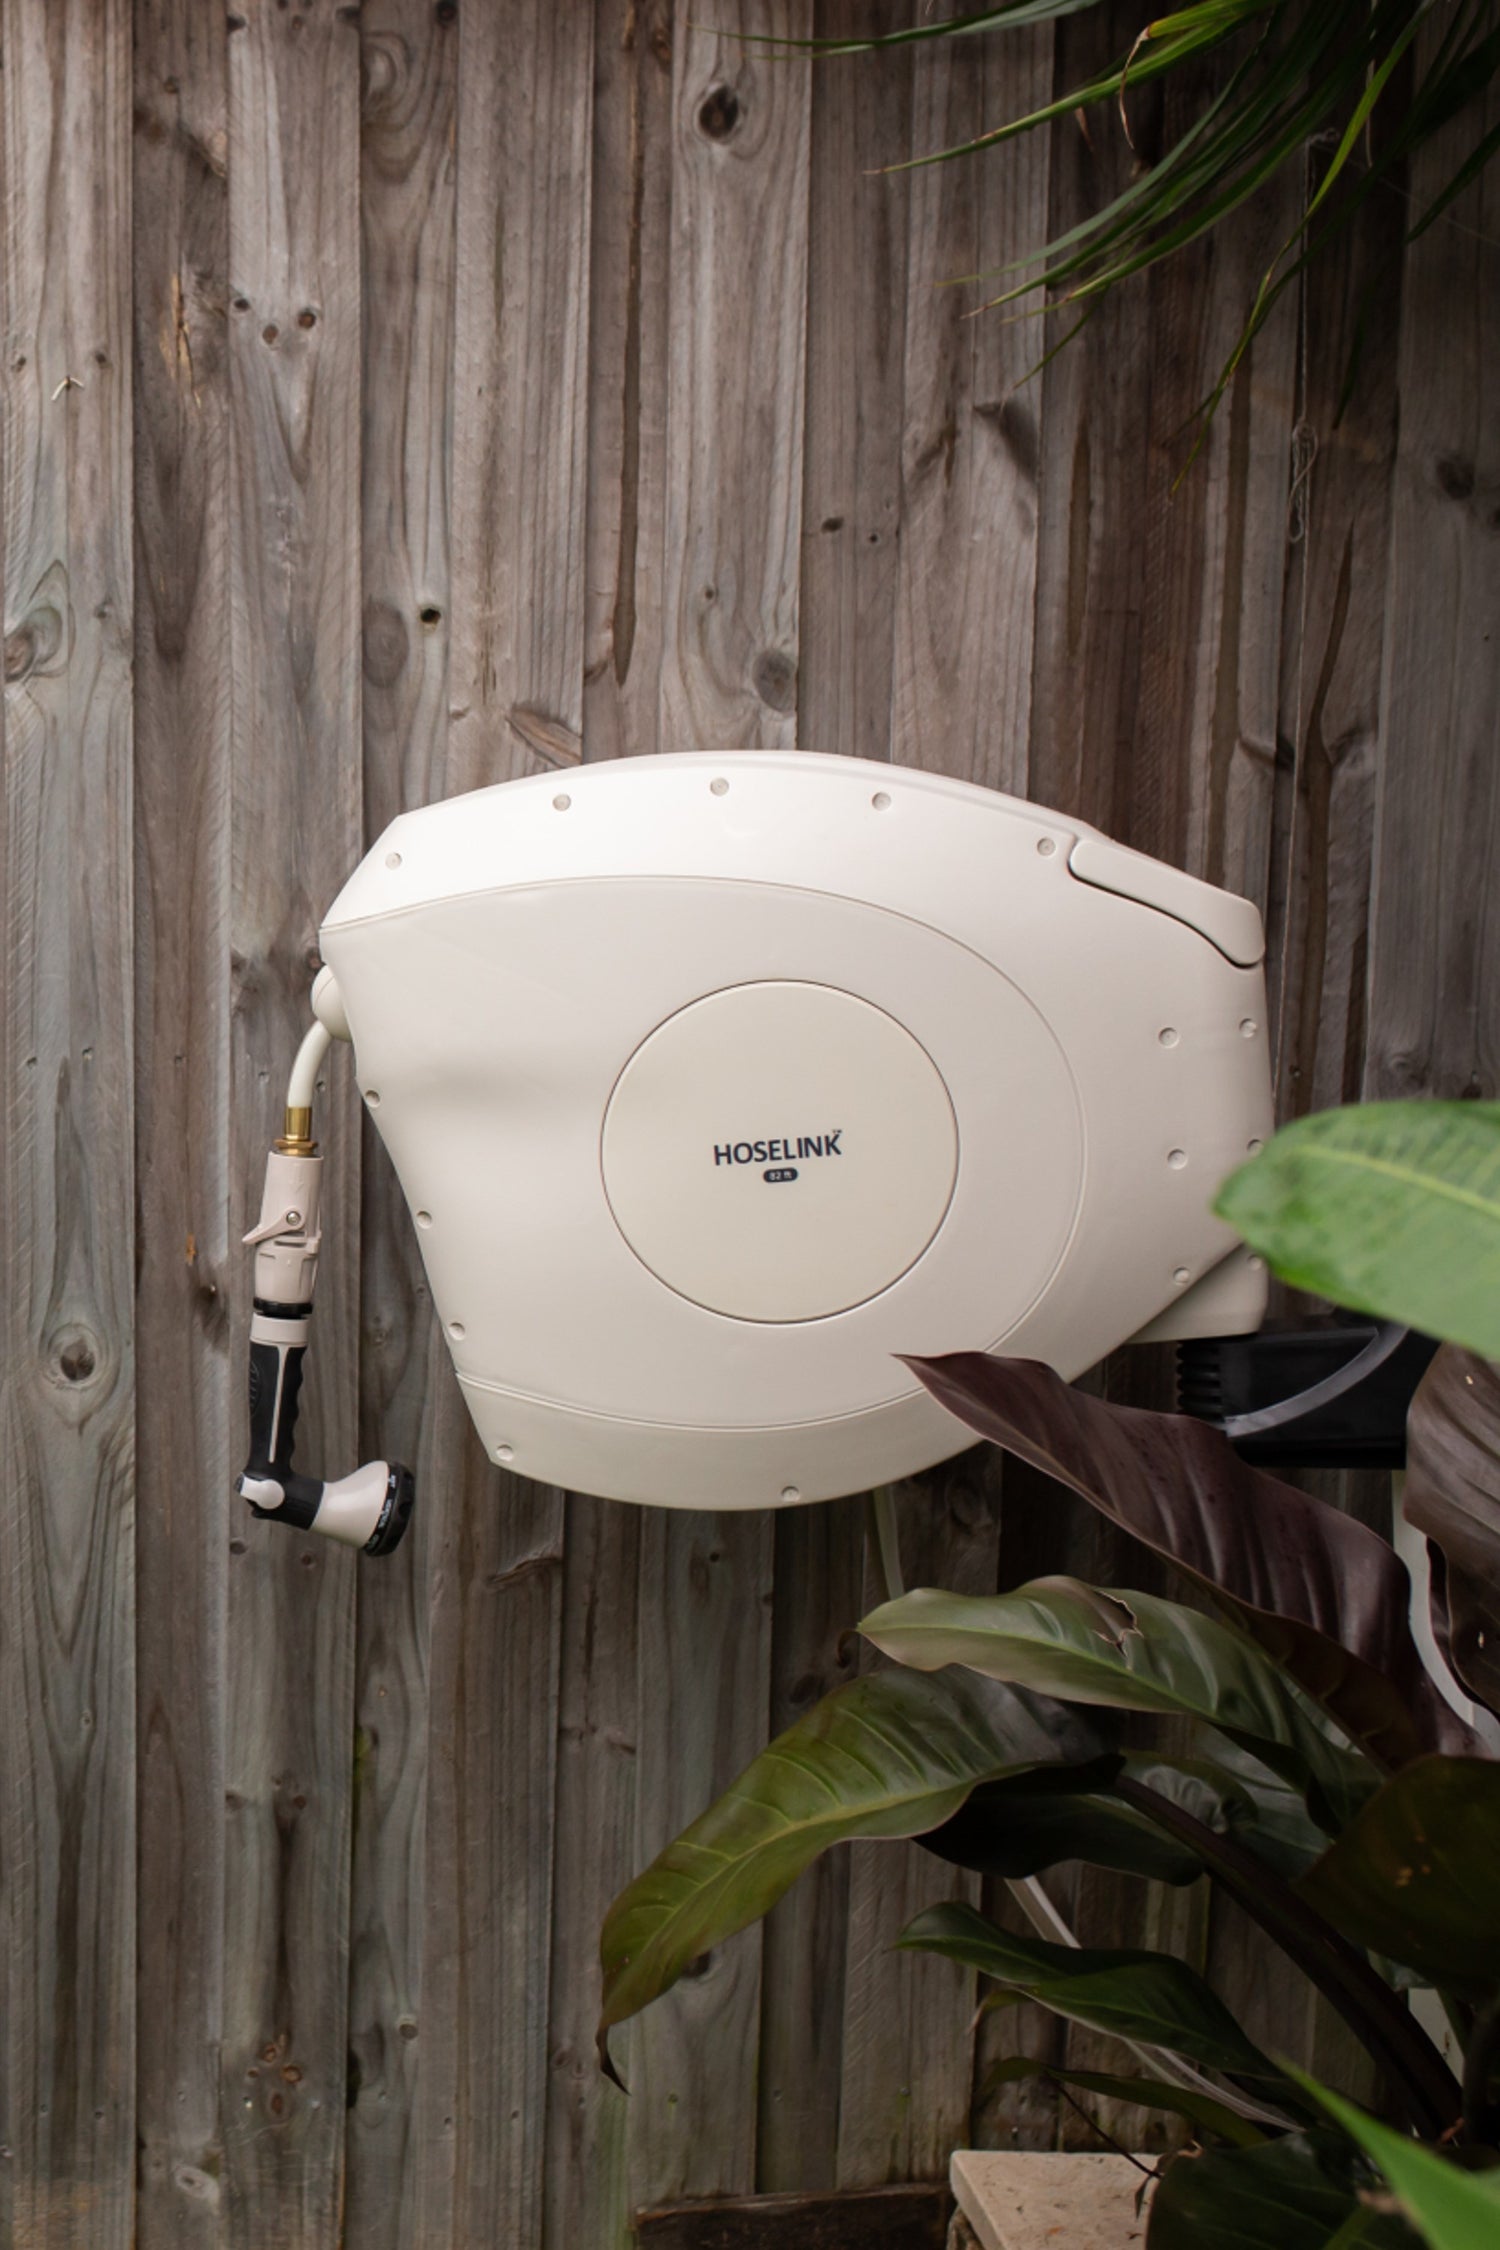
Classic 50ft Hi-Flow Retractable Hose Reel | Charcoal
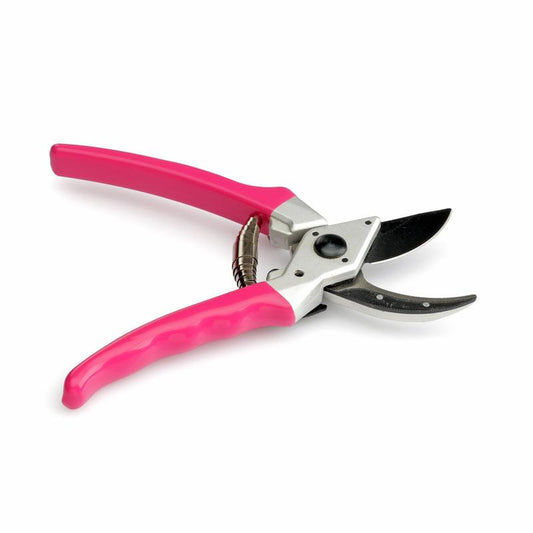
Removing Spent Perennials
As August rolls on, some of our early-bloomer perennials might start looking a bit worn out. No worries! Tidying up spent plants keeps your garden fresh and vibrant.
- Spot the Spent Blooms: Check out your garden for plants that have finished their show—look for wilting, browning, and overall tired vibes. Daylilies, coneflowers, and hostas are usually prime candidates.
- Snip and Trim: Grab your trusty pruning shears and cut back the spent flower stems and any raggedy leaves. This helps the plant redirect energy back to the roots for a stronger return next year.
- Clean Sweep: Clear away the debris from the plant bases to keep pests and diseases at bay. Toss the clippings into your compost pile—your garden will thank you for the nutrient boost later!
- Mulch and Hydrate: Lay down a cozy layer of mulch around the plants to lock in moisture and keep weeds at bay. Then give them a generous drink of water to help them bounce back.

Keeping on top of spent perennials not only spruces up your garden but also sets the stage for a robust and healthy bloom next season.
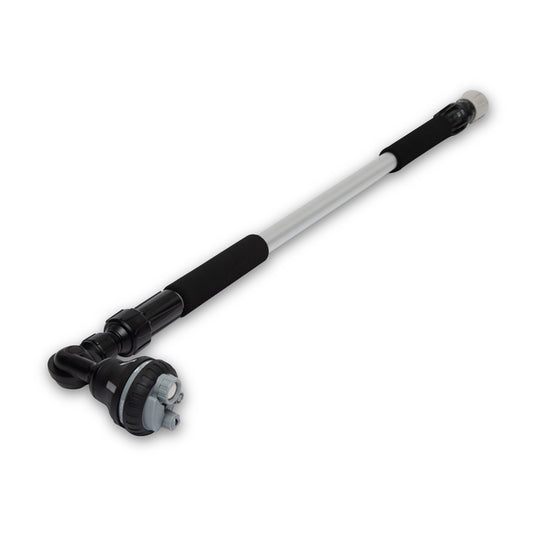
Seed Saving
Seed saving is like bottling up a little bit of garden magic to use again and again (And again!). It’s easy, cost-effective, and a fantastic way to share the love with fellow gardeners.
- Pick Your Faves: Choose the healthiest, most vigorous plants to save seeds from—no weaklings allowed! Skip plants that look sickly or pest-ridden.
- Harvest Time: Wait for the seed pods or heads to mature and dry out completely. Gently pluck the seeds and stash them in a paper bag or envelope. Don’t forget to label them!
- Drying Out: Spread the seeds on a paper towel or screen in a warm, dry spot for a few days. This step ensures they won’t mold in storage.
- Storage Solutions: Once dry, store your seeds in containers that can breathe, using brown paper bags is helpful. Keep them in a cool, dark place like a pantry or fridge.
- Share and Replant: Spread the joy by sharing your saved seeds with friends or using them to expand your garden. Growing plants from your own seeds is super rewarding and helps preserve your garden’s unique character.

Outdoor Containers
- Pruning Your Container Plants
Start by looking for any dead, yellowing, or damaged leaves and stems, which should be removed to prevent disease and promote healthy growth. Trim back any leggy or overgrown parts to maintain the plant's shape and size, which is particularly important for plants like geraniums, petunias, and herbs that can become unruly. For flowering plants, deadhead spent blooms to encourage more flowers; regularly removing faded flowers keeps your plants looking fresh and boosts their blooming potential. Always use clean, sharp pruning shears to make clean cuts, helping to prevent damage and reduce the risk of spreading disease.
- Fertilizing Your Container Plants
August is a critical time to fertilize your container plants since they’ve been working hard all summer, and a nutrient boost will help them continue to thrive. Use a balanced, water-soluble fertilizer for most container plants, and for flowering plants, a bloom-boosting fertilizer with higher phosphorus can promote more blooms. Always follow the manufacturer’s instructions for dilution and application rates, as over-fertilizing can harm your plants by causing nutrient burn. Fertilize your container plants every 2-4 weeks during the growing season to provide a steady supply of nutrients to support growth and flowering. Always water your plants before applying fertilizer to avoid root burn and help the nutrients absorb more effectively.
- Replacing Plants in Containers
Sometimes, despite our best efforts, certain plants might start to struggle or outgrow their containers by August. Replacing these plants keeps your container garden looking its best. Look for plants that appear stunted, discolored, or are not thriving, and if they show signs of disease or severe pest infestation, it’s best to remove them. Choose healthy, vigorous plants to replace the struggling ones, considering varieties that will thrive in the current season’s conditions and complement your existing garden. Add fresh potting mix to the container, plant the new addition at the same depth it was growing in its original pot, firm the soil gently around the roots, and water thoroughly to help the plant settle in. Keep an eye on the new plants and provide extra care as they adjust to their new home, with regular watering, feeding, and monitoring to help them establish quickly.

The kitchen garden
This month, let’s focus on some key tasks: direct sowing seeds, removing sick vegetable plants, and starting seeds indoors for future planting. Let’s dive into these important chores to ensure your kitchen garden continues to thrive!
- Direct Sowing Seeds
August is a fantastic time to sow seeds directly into your garden, especially for crops that thrive in the cooler weather of fall. Start by selecting seeds for cool-season vegetables like spinach, cilantro, beets, sugar snaps, radishes, and kale, which can handle the lower temperatures and shorter days. Prepare your garden bed by loosening the soil and removing any weeds or debris. Follow the seed packet instructions for planting depth and spacing, and then gently cover the seeds with soil. Water the area well to ensure good seed-to-soil contact. Keep the soil consistently moist but not waterlogged as the seeds germinate and begin to grow. Direct sowing now will give you a fresh harvest just as summer fades into fall.
- Removing Sick Vegetable Plants
As your kitchen garden continues to grow, you might encounter some plants that aren’t faring well. Identifying and removing sick vegetable plants is crucial to preventing the spread of disease and ensuring the health of the rest of your garden. Look for signs such as yellowing leaves, stunted growth, or unusual spots and lesions. If you find any affected plants, carefully remove them from the garden, including their roots, to minimize the risk of disease spreading to nearby plants. Dispose of the sick plants away from your garden area to avoid contamination. After removal, clean up the area and consider adding fresh compost or mulch to rejuvenate the soil and support the health of your remaining plants.
- Starting Seeds Indoors for Later Planting
August is also an ideal time to start seeds indoors for a late fall or early winter harvest. This is especially useful for crops like broccoli, Brussels sprouts, and leeks, which benefit from an early start. Set up a seed-starting area with plenty of light, either from a sunny windowsill or grow lights. Use seed-starting trays or pots filled with a high-quality seed-starting mix. Sow the seeds according to the packet instructions and keep the soil consistently moist. As the seedlings grow, provide them with adequate light and air circulation to prevent leggy growth and damping-off disease. Once the seedlings are ready and the outdoor conditions are suitable, you can transplant them into your garden or larger containers.
Gardening is a continuous adventure with plenty of learning and growth along the way. Think of these tasks as just part of the natural flow of your gardening journey, and relish the benefits of giving your garden a bit of extra attention. Cheers!
If you enjoyed this blog and would like to see more from Roxana, you can visit her YouTube channel via this link:

