As the holiday hustle and bustle settles down and the new year unfolds, it's the perfect time to tackle a project that often gets overlooked: decluttering your garden shed. Whether you’re an avid gardener or a weekend warrior, resetting this space can set the tone for a productive and enjoyable gardening season. Here are some practical tips to help you get started, with special considerations for gardeners in particular USDA hardiness zones.
Step 1: Clear It All Out
The first step to reclaiming your garden shed is to empty it completely. This allows you to see exactly what you have and assess the space you’re working with. Lay everything out in categories: tools, pots, seeds, fertilizers, and miscellaneous items.
While you’re at it, inspect items for wear and tear. For example, check tools for rust, dispose of expired chemicals responsibly, and test old seeds for viability – you can do this by placing a few in a shallow dish of water. If the seeds sink, the batch is still viable, if they float, discard the batch.

Step 2: Clean the Space
With your shed empty, take the opportunity to deep clean. Sweep out debris, wipe down shelves, and check for any pest infestations or damage. If your shed isn’t insulated, consider weatherproofing measures to protect your items.
For gardeners in zones 8 and below, where winter temperatures can dip below freezing, ensure that items sensitive to cold are stored in insulated containers or brought indoors. More on this in step four.
Step 3: Organize with Purpose
After cleaning, it’s time to put everything back—strategically. This will save you time and potential frustration in the future by having a system. Even a loose system is better than nothing! Try these tips:
- Group Similar Items: Store tools together, pots in one area, and fertilizers in another.
- Use Vertical Space: Hang tools on pegboards or hooks to free up floor space.
- Invest in Clear Bins: For smaller items like seeds, gloves, and plant labels, clear bins make everything easy to find.
- Label Everything: Labels save time and frustration when you’re in the middle of a gardening project.

Step 4: Consider Winterizing Your Hose Reel
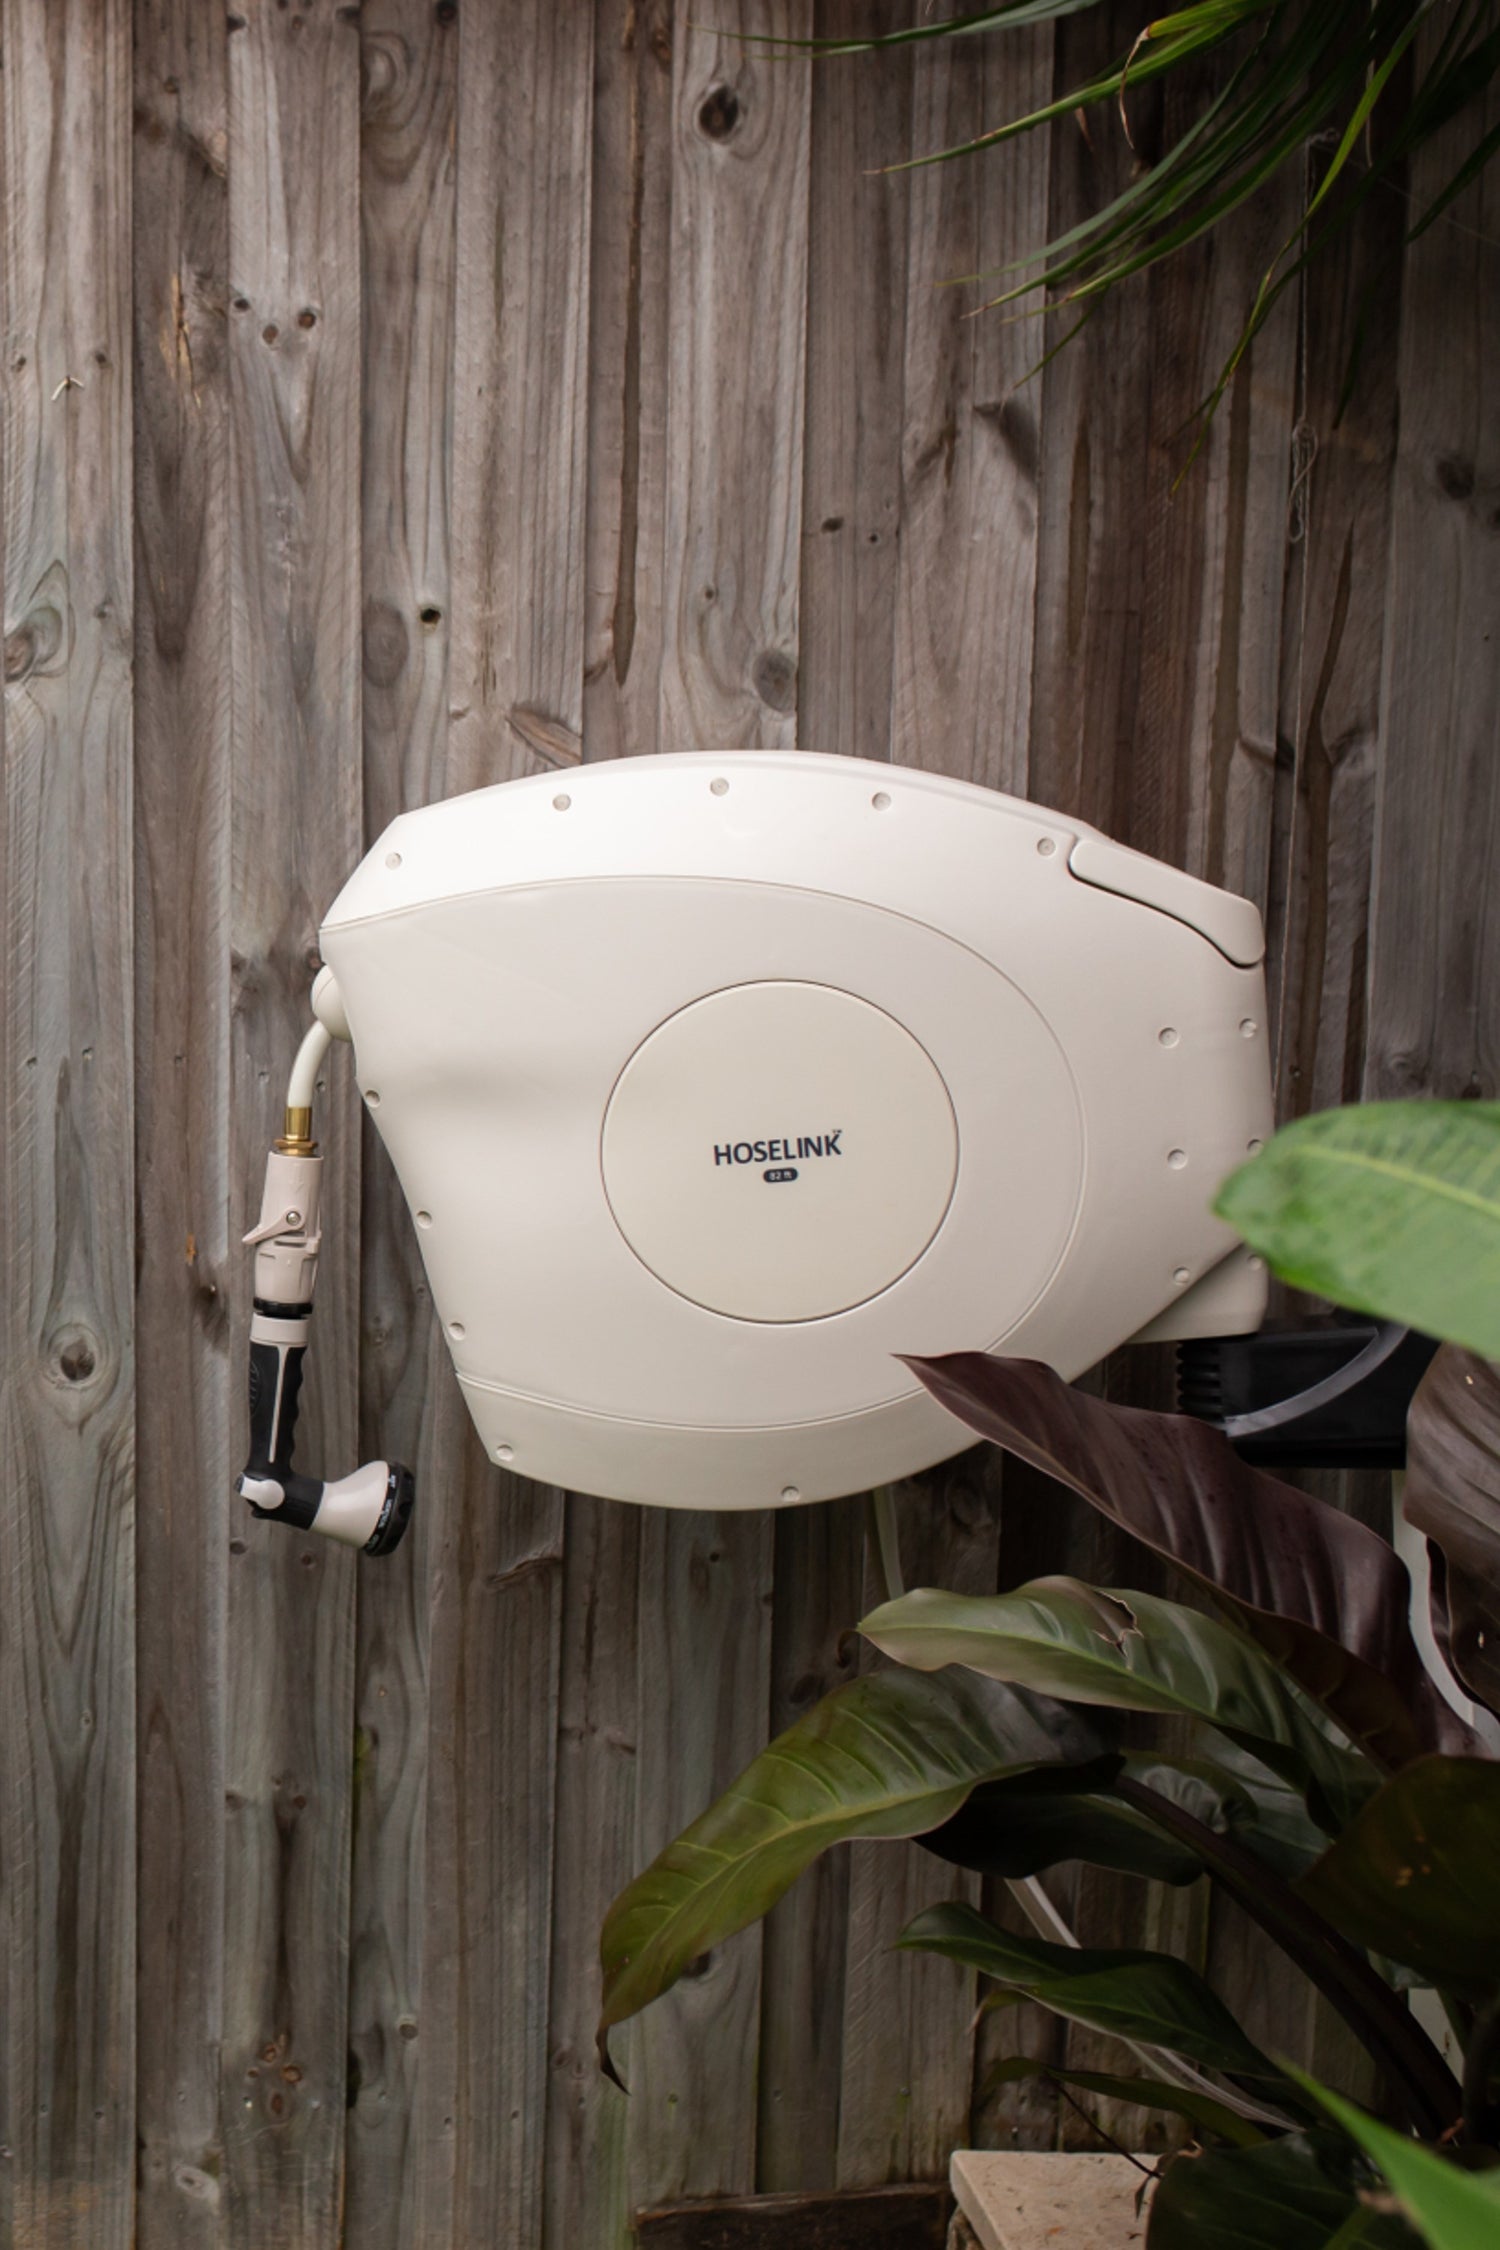
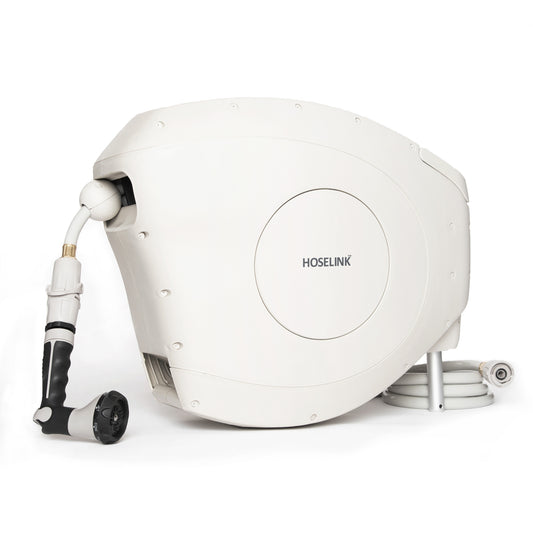
If you do live in a cooler climate and want to prevent your Hose Reel from getting frost damage and ensuring it stays durable, you should consider packing away your Hose Reel. This is mainly to avoid any potential damage due to ice forming internally and causing cracks from the pressure. You will want to disconnect your reel and have drained all water out before storing it somewhere safe and protected from the weather. For a more detailed demonstration of how to do this, see the video below.
Step 5: Plan for the Year Ahead
Use this decluttering session to evaluate your gardening needs and set goals. Take stock of what you have and make a list of what’s missing. This is also an excellent time to map out your planting schedule based on your zone.
- Zones 4-7: These regions typically experience late frosts, so focus on planning cold-hardy crops for early spring and perennials that can withstand winter conditions. Store seeds for vegetables like peas, lettuce, and spinach, which can be sown as soon as the ground thaws.
- Zones 8-10: With milder winters, you can likely garden year-round. Use this time to organize seeds for succession planting and maintain tools for heavy use. Check irrigation systems since these zones often rely on consistent watering.
Step 6: Sustainable Practices
Decluttering your garden shed is also an opportunity to embrace sustainability:
- Recycle or Repurpose: Old tools can be turned into decor, and cracked pots can become drainage material.
- Compost Expired Organics: Fertilizers or soil additives that have passed their prime can sometimes be safely composted (check labels).
- Minimize Waste: Commit to buying only what you’ll use this year to reduce clutter in the future.
Step 7: Maintain Your Hard Work
To keep your garden shed organized, adopt these simple habits so your hard work won’t go to waste:
- Dedicate 15 minutes each month to tidying up.
- Put items back in their designated spots after use.
- Regularly check for pests or weather-related damage.
Final Thoughts
Decluttering your garden shed is a rewarding way to start the new year with a clean slate. By taking the time to organize and prepare, you’ll create a space that inspires productivity and makes gardening a joy. Whether you’re braving snowy winters or enjoying a mild climate this time of year, a tidy shed is the foundation for a successful gardening season.
So, roll up your sleeves, and let this post-holiday reset kickstart your year of growth and blooms!

