Making your own Christmas wreath is a fantastic way to bring the beauty of your garden into your holiday décor. With some creativity and simple steps, you can craft a personalized and eco-friendly decoration that celebrates the season. Here’s how you can do it:
Step 1: Gather Your Materials
To complete this first step, we encourage you to take a stroll through your garden to gather the greenery and decorative elements you’ll use. Various climates will offer different varieties, of course, but some common options include:
- Greenery: Pine, spruce, fir, eucalyptus, rosemary, or bay leaves.
- Berries: Holly, pyracantha, or toyon (California holly).
- Flowers: Poinsettias, lavender, hellebores, or even succulents.
- Fruits: Small oranges, lemons, or pomegranates.
- Other Additions: Pinecones, seed pods, or twigs.
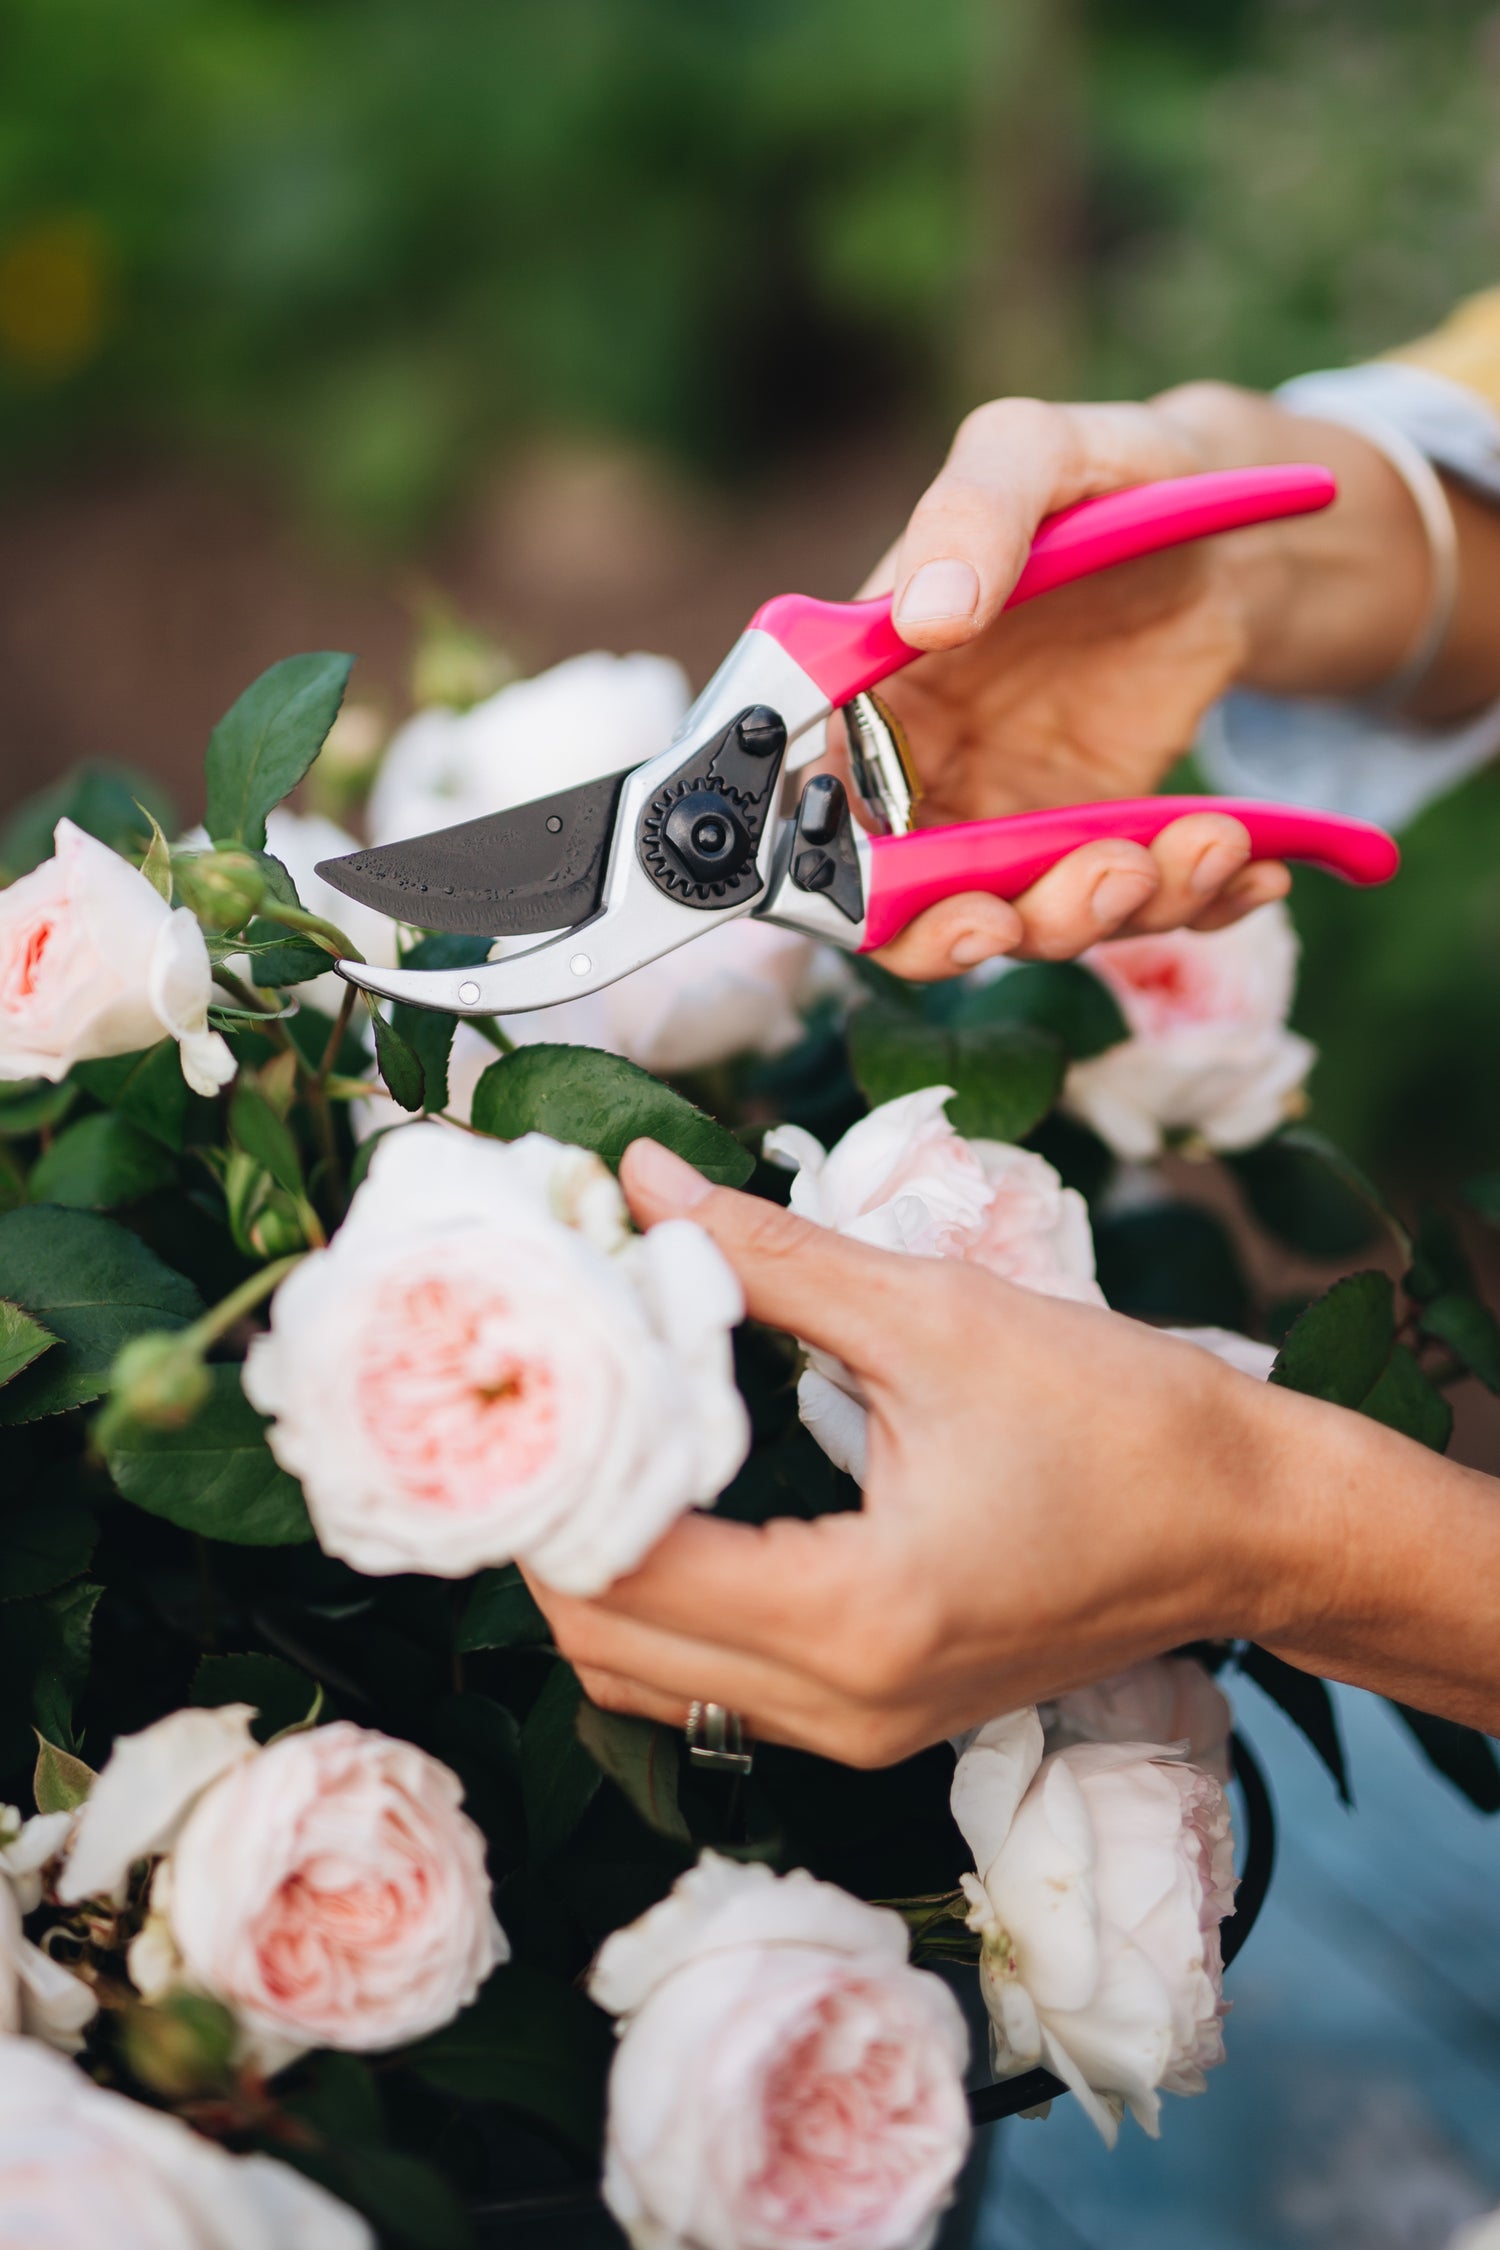
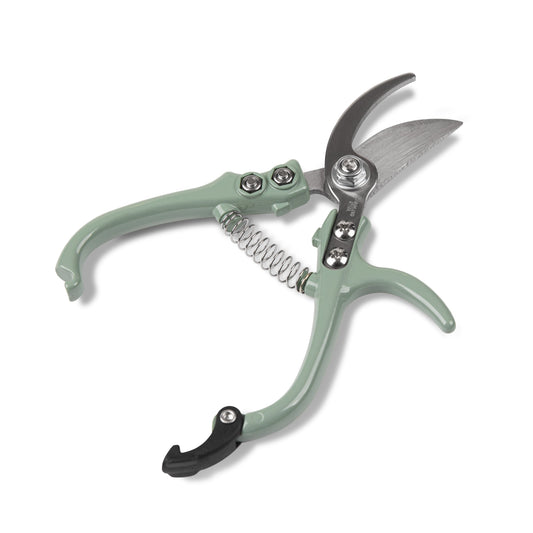
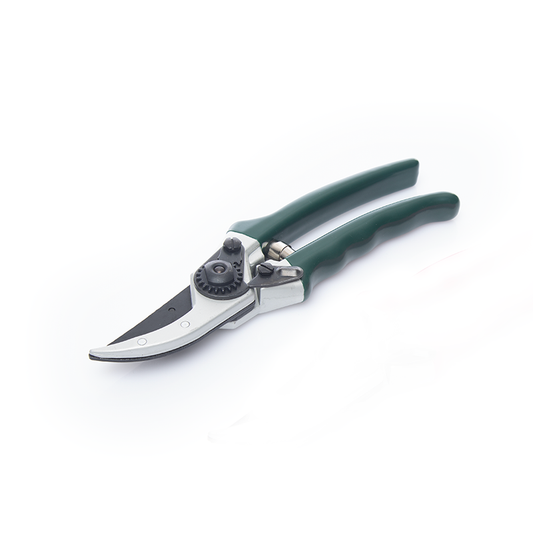
You’ll also need a wreath form (wire, grapevine, or foam), floral wire, and a sharp pair of pruners (we recommend these handy snippers or secateurs).
Step 2: Prepare Your Greenery
Once you’ve collected your materials, prepare them for use:
- Trim and clean: Remove any dirt, wilted leaves, or damaged stems.
- Cut to size: Snip greenery and other elements into manageable lengths, typically 6-10 inches.
- Hydrate if needed: Place delicate foliage or flowers in water to keep them fresh until you’re ready to assemble.
Quick Tip: We suggest putting down the Hoselink Waterproof Potting Mat before assembling! This will make the tidy up much easier at the end.

Step 3: Build Your Base
If you want to make your own wreath base, here are a few simple options:
- Wire Base: Bend a sturdy wire into a circle, twisting the ends together. You can double it up for extra stability.
- Grapevine Base: Gather flexible grapevines or similar woody vines, twist them into a circle, and secure them with floral wire.
- Straw or Twig Base: Bundle straw or twigs into a circular shape and tie them together with string or wire.
Once you have created a sturdy base, you can follow the next steps to form your wreath:
- Attach greenery to the wreath form:
- Use floral wire to secure small bundles of greenery to the wreath form, overlapping each bundle slightly to cover the stems.
- Continue around the wreath until the base is fully covered.
- Add dimension: Layer different types of foliage for texture and color variation. For example, pair dark green pine with silvery eucalyptus.

Step 4: Decorate Your Wreath
Now it’s time to add personality:
- Berries and Fruits: Wire berries or citrus directly onto the wreath or skewer fruits with toothpicks before inserting them.
- Flowers and Seed Pods: Tuck dried flowers or pods into the greenery, securing them with wire as needed.
- Pinecones and Twigs: Attach heavier elements like pinecones using hot glue or strong wire.
Step back frequently to ensure your wreath looks balanced and visually appealing.


Step 5: Add the Final Touches
- Ribbon or Bow: Add a festive ribbon or bow at the bottom or top of your wreath for a polished look.
- Hanger: Create a wire loop or use a ready-made hanger to display your wreath.
Step 6: Display Your Creation
Hang your wreath on your front door, over your mantel, or anywhere that needs a touch of holiday cheer. If your wreath includes fresh greenery, spritz it with water every few days to maintain its freshness. On that note, depending on the materials used, you’ll need to keep in mind how long your homemade wreath will last for. As a guide, we suggest following the below instructions.
Fresh Greenery Wreaths
- Indoors: 2–3 weeks, provided they are kept cool and misted with water daily to retain moisture.
- Outdoors: 4–6 weeks or longer if temperatures stay cold and the wreath is kept out of direct sunlight and wind.
Dried or Preserved Wreaths
- Indoors or Outdoors (protected area): 1–2 years if kept away from humidity, direct sunlight, and pests.
Artificial Wreaths
- Indoors or Outdoors: Many years, as long as they’re stored properly in a cool, dry place when not in use.
Tips to Extend Lifespan
- Use a wreath spray or anti-desiccant for fresh greenery.
- Avoid placing fresh wreaths near heat sources, like fireplaces or radiators.
- Store dried and artificial wreaths in a wreath box or plastic bag during the off-season.

Tips for Success:
- Safety: Avoid using toxic plants like mistletoe if pets or small children are present.
- Experiment: Don’t be afraid to mix garden finds with store-bought accents for a unique design.
- Work in Sections: Focus on small areas at a time to maintain consistency.
- Keep it Fresh: For fresh greenery, mist the wreath occasionally or soak the stems in water before attaching them.
- Balance the Weight: Avoid adding too many heavy decorations on one side to prevent the wreath from hanging lopsided.
- Experiment with Shapes: While round is traditional, consider making square, star or oval wreaths for a unique look.

Creating a Christmas wreath from your garden is not only a fun and festive project but also a meaningful way to celebrate the season with natural beauty. Happy crafting!


