Pumpkin carving is a cherished tradition in many American households, especially for those of us with green thumbs who take pride in growing our own pumpkins. But did you know that as gardeners, we have unique opportunities to make this spooky season even more special?
In this guide, we’ll walk through how to grow the perfect pumpkin for carving, provide tips for preserving your carved masterpieces, and share ideas for keeping sustainability at the forefront—after all, every gardener loves a good composting project! Let’s dig into the details and get you ready for a pumpkin-filled fall.
Growing the Perfect Pumpkin for Carving
If you're a gardener who wants to carve pumpkins straight from your own patch, it’s important to start with the right variety and growing conditions. Not all pumpkins are created equal—some are better suited for carving than others.
-
Choosing the Best Pumpkin Varieties for Carving
For pumpkin carving, you’ll want to grow varieties that are not only the right size but also have a sturdy shell and hollow interior. Here are some top pumpkin varieties to consider:
- Jack-o’-Lantern: As the name suggests, this is the classic pumpkin for carving. They grow to a medium-to-large size and have thick, easy-to-carve skins.
- Howden: Another go-to for carving, Howden pumpkins have a round shape and durable walls that hold up well under the knife.
- Connecticut Field: One of the oldest pumpkin varieties, this is a great choice if you want large pumpkins that are perfect for making bold, eye-catching designs.

-
Ideal Growing Conditions
To grow pumpkins successfully, you’ll need to provide them with the right environment. Pumpkins thrive in warm weather, so timing and location are key:
- Planting: Start your pumpkin seeds indoors about 3 weeks before the last frost date or sow them directly into the garden when the soil temperature reaches 70°F. Most varietals will take roughly 110 days (four months) to mature from seed to harvest-ready, so be sure to plant by late May.
- Spacing: Pumpkins need plenty of space to spread out. Plant them in hills, with at least 4-5 feet between plants. Rows should be spaced about 6-8 feet apart.
- Soil: Well-drained, nutrient-rich soil is best. Amend the soil with compost before planting to give your pumpkins the nutrients they need.
- Watering: Keep your pumpkins hydrated by watering deeply once or twice a week. Water at the base of the plant to avoid wetting the leaves, which can lead to mildew.
-
Harvesting Tips for the Best Carving Pumpkins
Timing is everything when it comes to harvesting pumpkins for carving. Here’s how to make sure they’re ready:
- Timing: Harvest pumpkins in late September or early October, once the skin is hard and the pumpkin sounds hollow when tapped.
- Stem care: Cut the pumpkin from the vine with a sharp knife, leaving 2-3 inches of stem. This will help preserve the pumpkin longer.
- Storage: Store your pumpkins in a cool, dry place until you're ready to carve them. Avoid stacking them to prevent bruising.
How to Pumpkin Carve Like a Pro
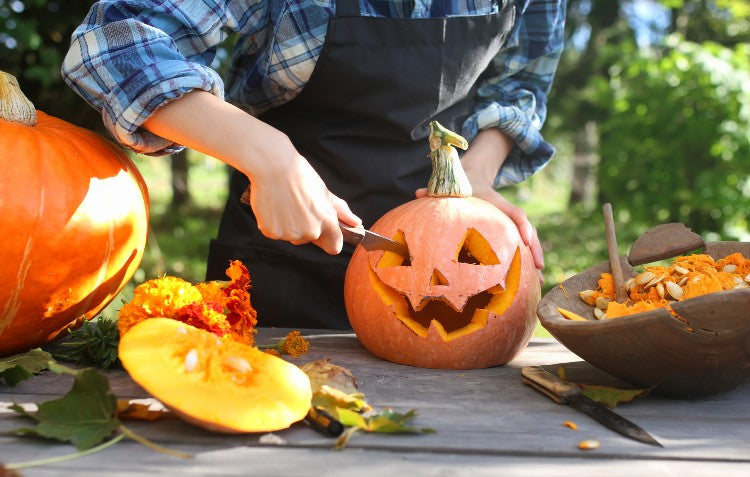
Once you've harvested the perfect pumpkin, it's time for the fun part—carving! Pumpkin carving is a creative process that allows you to transform your homegrown gourds into festive decorations. Follow these steps for a smooth, successful carving experience:
-
Gather Your Tools
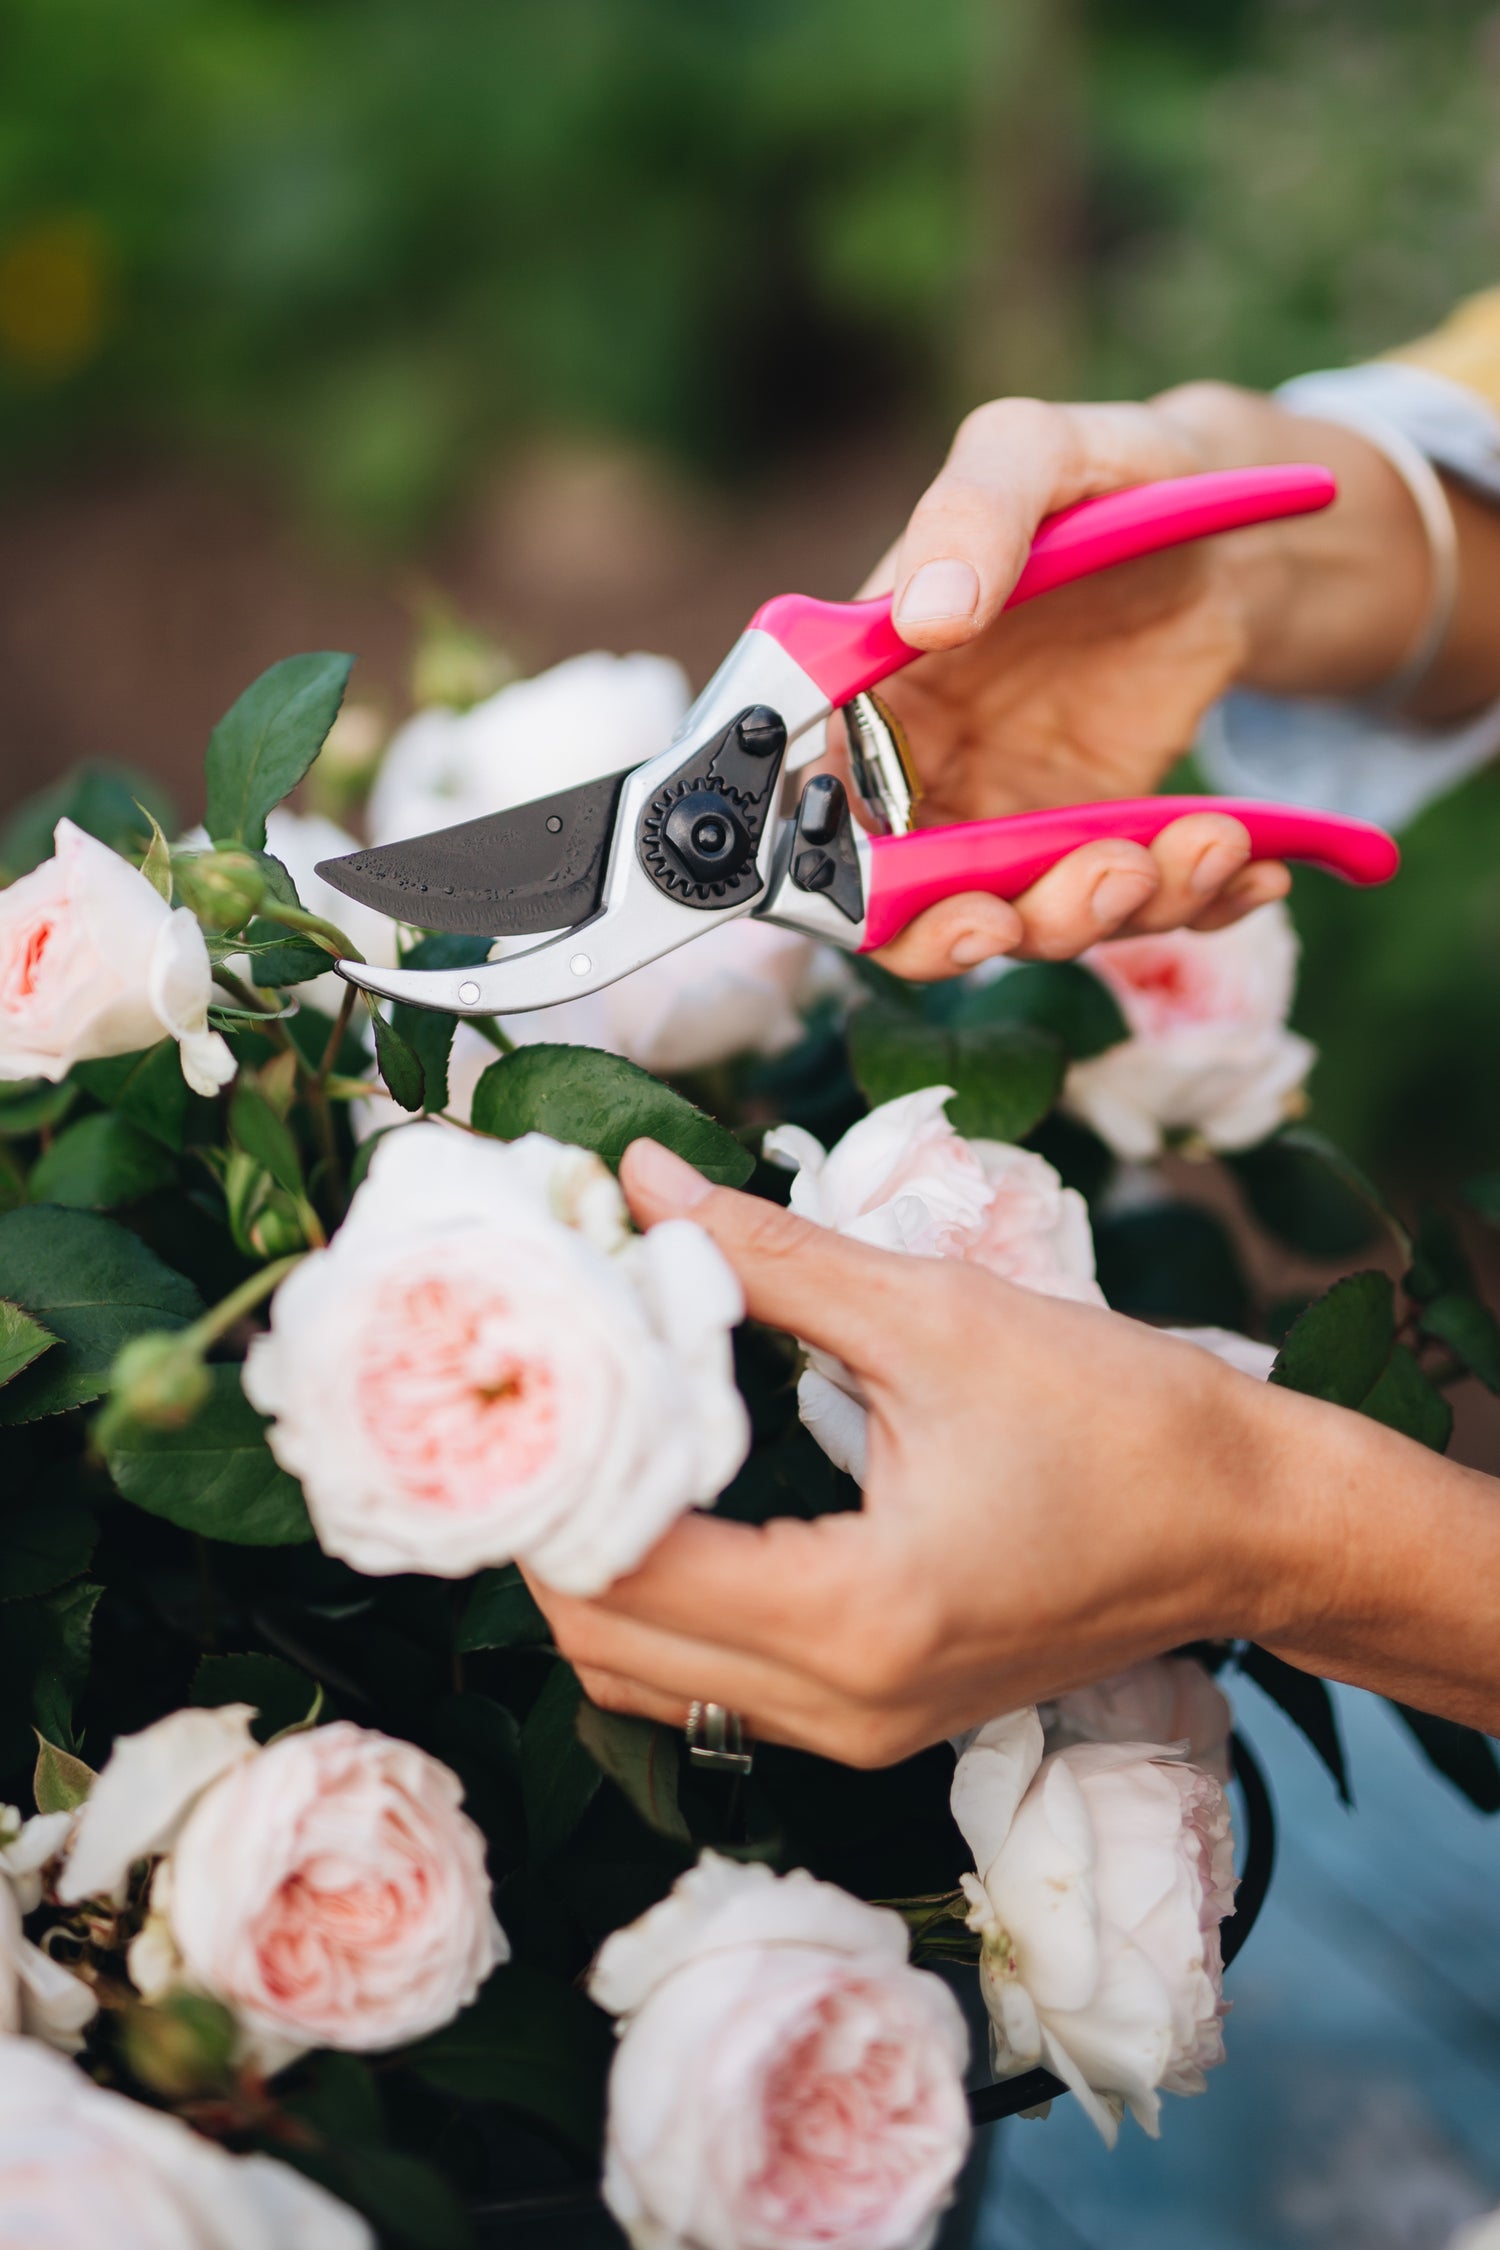
- Pumpkin carving kit: If you don’t have a kit, basic gardening tools like a small trowel, hand pruners, or a weeding knife work well for cutting and scraping.
- Spoon or scoop: Use a large spoon or your trusty garden scoop to clean out the inside of the pumpkin.
- Marker or pencil: Draw your design before you start carving. This will help guide your cuts.
- Tea lights or LED candles: These are essential for lighting up your pumpkin after it's carved.
-
Prepare Your Pumpkin
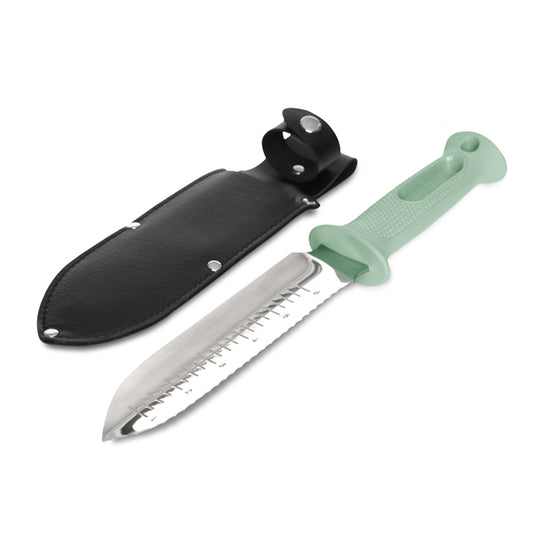
- Cut the top: Use a serrated knife or our Hori Hori Garden Knife to cut a circle around the pumpkin's stem to create a lid. Cut at an angle, so the lid won’t fall into the pumpkin when placed back on.
- Scoop out the insides: Use your spoon or scoop to clean out the seeds and stringy pulp from the inside. The cleaner the inside, the longer your pumpkin will last.
-
Create Your Design
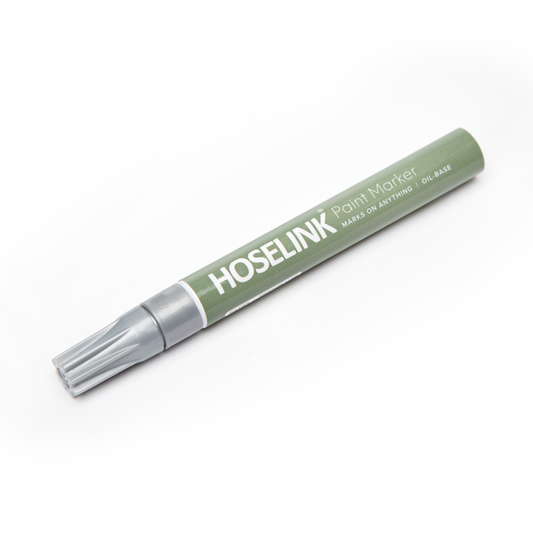
- Draw or stencil: Sketch your design on the pumpkin using a washable marker. If you’re not confident in your freehand skills, use a stencil for guidance. The Pumpkin Lady has a wide variety of free downloadable templates.
- Carve: Start carving slowly along your lines using controlled motions. Gardening tools like a sharp weeding knife or small hand pruners can help you make more detailed cuts. Be mindful of how deep you're cutting to avoid piercing the pumpkin too much.
-
Add the Final Touches
- Smooth the edges: After carving, gently scrape the edges of your cuts with a spoon to smooth out any rough patches.
- Light it up: Place a tea light or LED candle inside the pumpkin to illuminate your design. If you’re using real candles, consider cutting a vent in the back of the pumpkin to allow heat to escape.
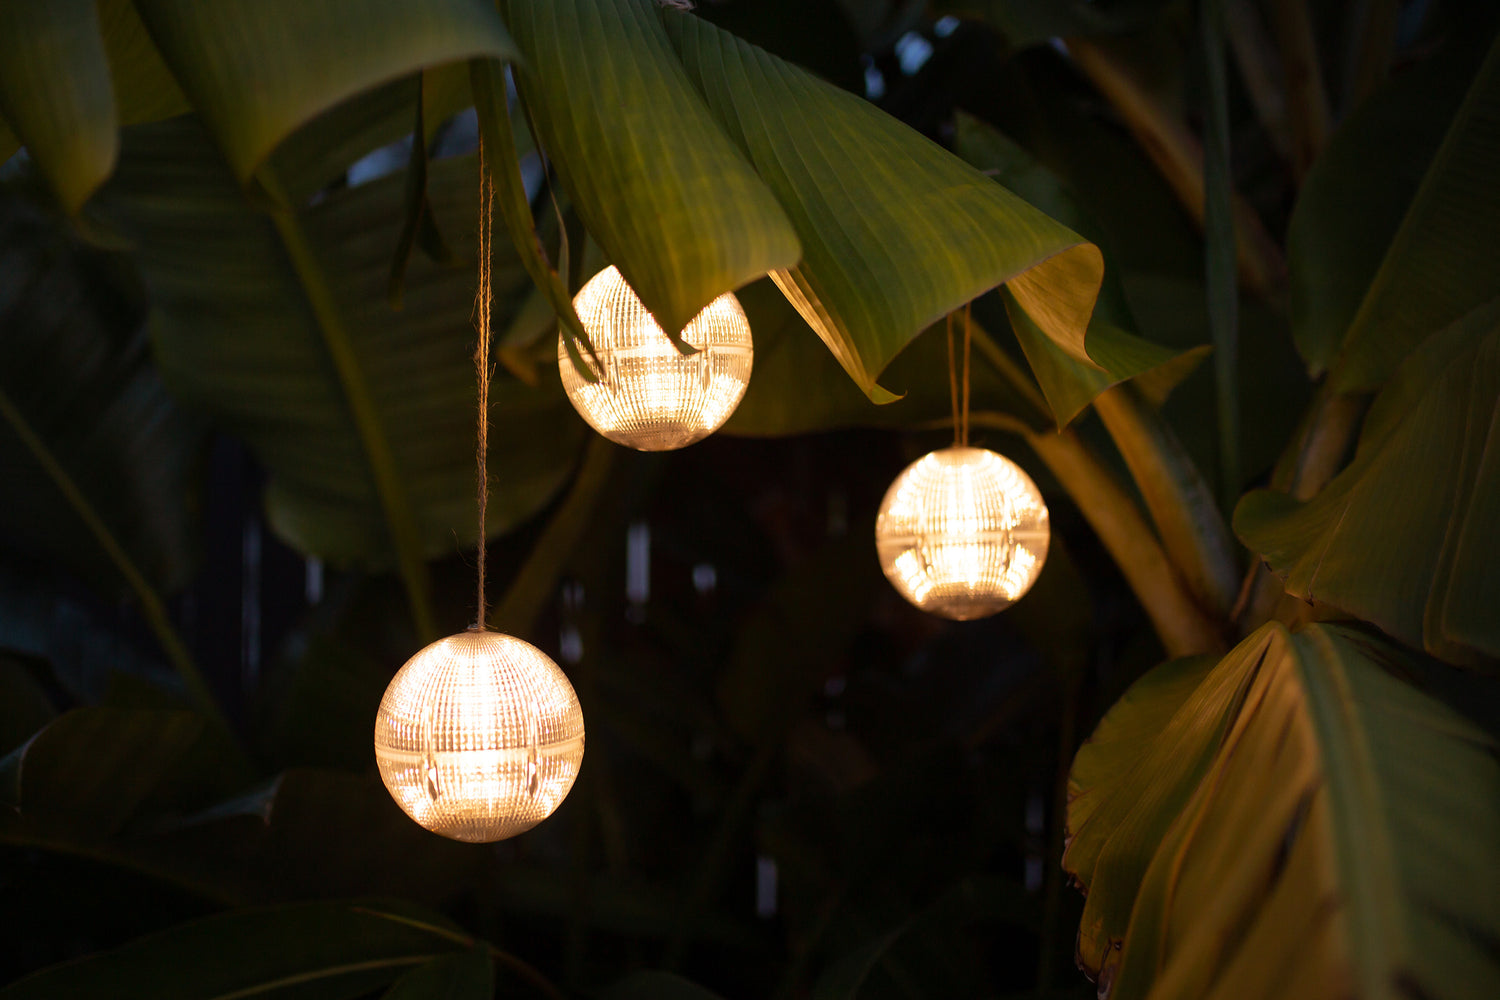
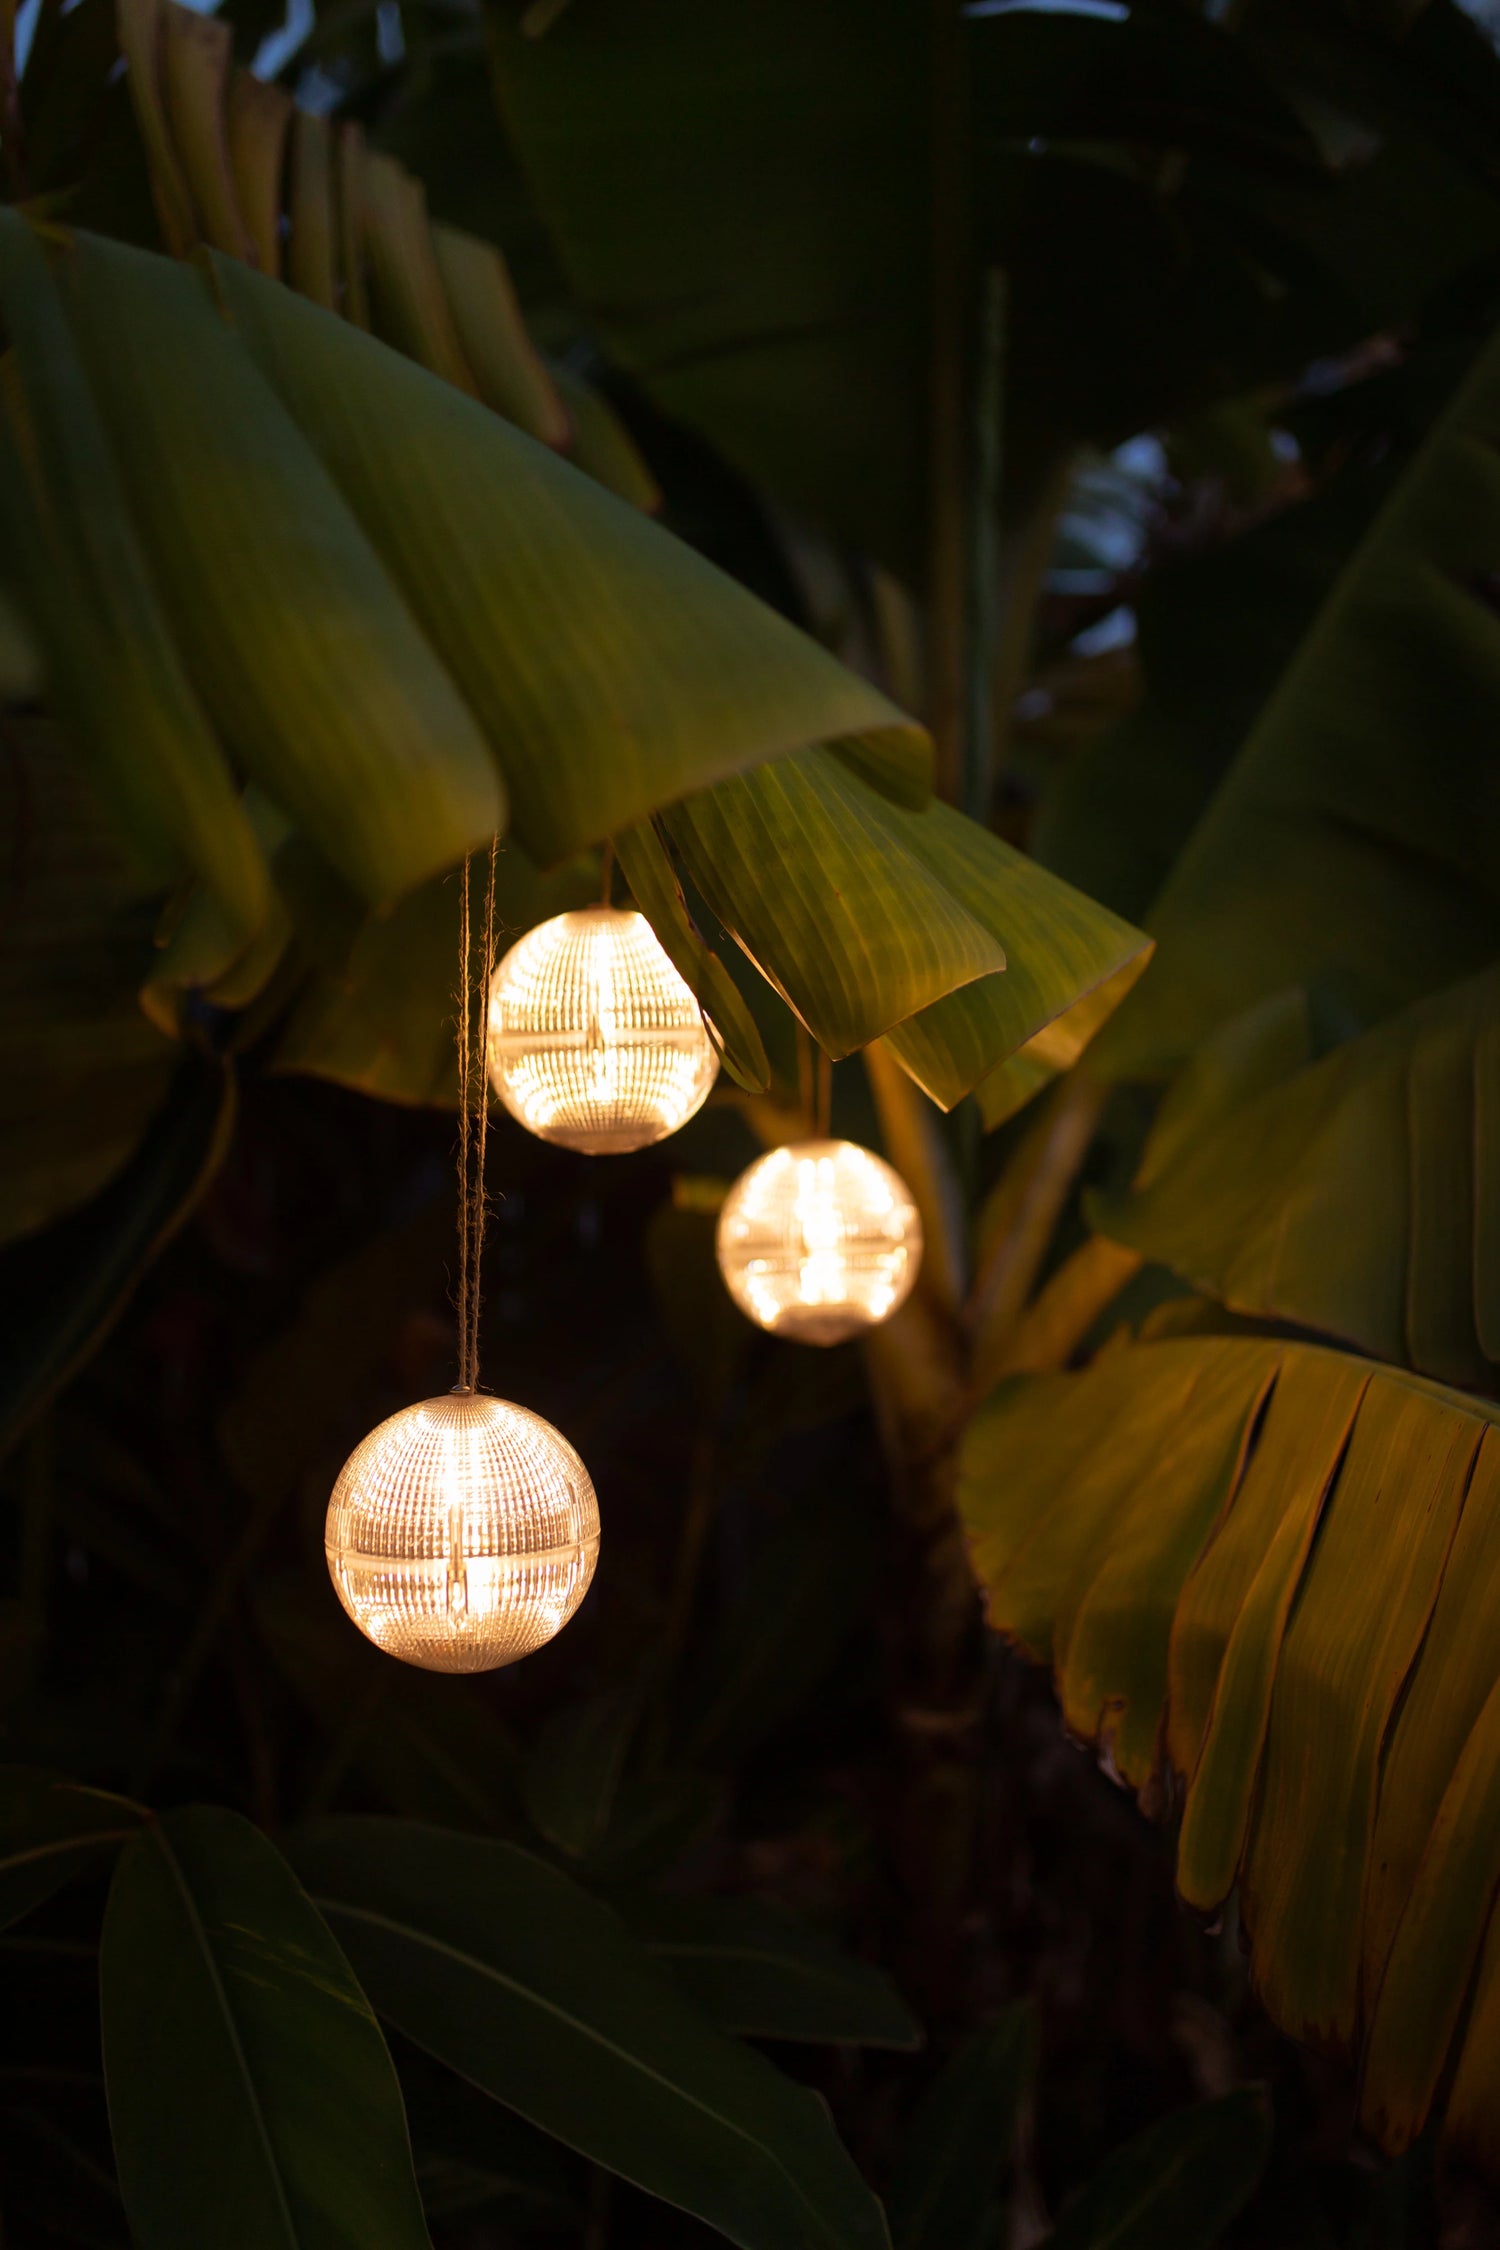
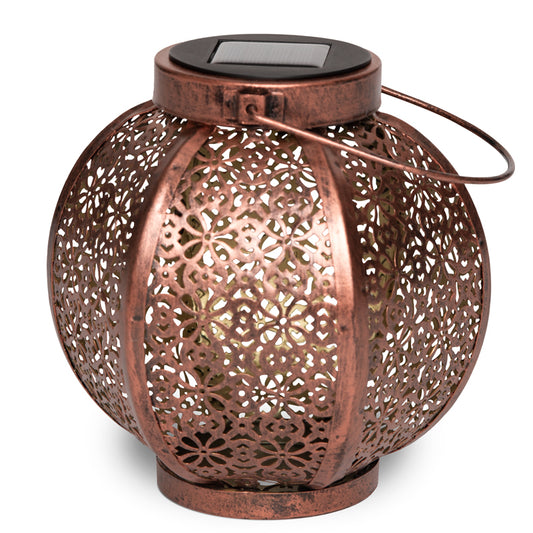
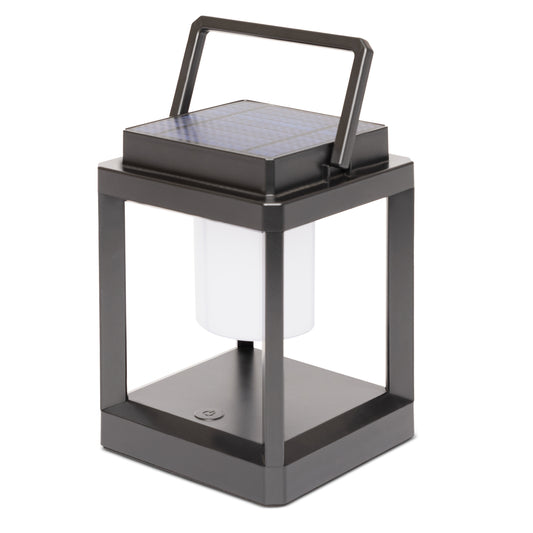
Want to add an extra touch of magic to your pumpkin display? Consider placing a few of our Solar Light Lanterns around your carved pumpkins for a warm, inviting glow. These lanterns are not only eco-friendly but also provide a beautiful decorative element that complements the flickering lights inside your pumpkins.

By following these steps, you’ll have a perfectly carved pumpkin that’s ready to show off. Whether you go for a classic jack-o’-lantern or something more intricate, these tips will help make the carving process smooth and enjoyable.
Safety Tips for Pumpkin Carving
Carving pumpkins can be tricky, but with the right tools and precautions, it’s easy to stay safe. Here are some safety tips:
- Use the right tools: If you’re using gardening tools, opt for small hand pruners or a weeding knife for controlled, precise cuts.
- Wear gloves: A sturdy pair of gardening gloves will protect your hands from cuts and scrapes.
- Keep the workspace clean: A messy carving station can lead to accidents. Keep your area tidy and your tools organized.
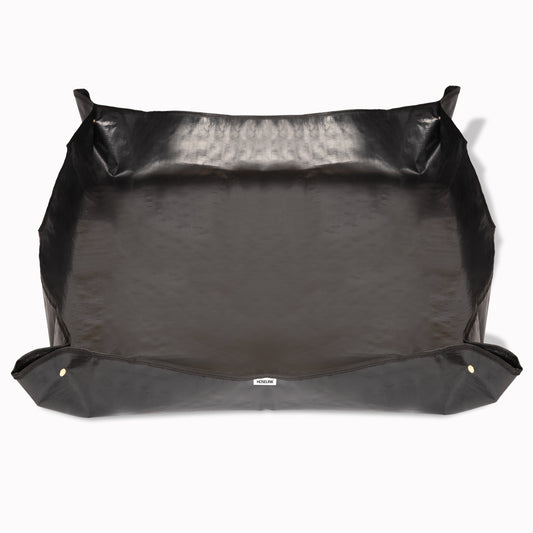
To make cleanup easier, use Hoselink’s Repotting Mat. This durable, foldable mat creates a contained area for catching pumpkin guts and seeds, keeping your space organized and mess-free. It’s also waterproof and easy to clean, making it a great reusable tool for all your gardening tasks. Simply fold it up when you’re done, and your workspace will be as clean as when you started!
Sustainable Pumpkin Recycling and Composting
When Halloween is over, you don’t have to toss your pumpkins in the trash. As gardeners, we can make the most of our pumpkins by recycling and composting them. Here’s how:
-
Composting Pumpkins
Pumpkins are a rich source of nutrients, making them excellent for composting. Follow these steps to add them to your compost pile:
- Remove candles and decorations: Make sure your pumpkin is free from any non-compostable materials.
- Cut it up: Chop your pumpkin into smaller pieces to help it break down faster.
- Mix it in: Pumpkins are high in nitrogen, so balance them with “brown” materials like leaves or straw to create a healthy compost blend.
-
Feed Wildlife
If composting isn’t an option, leave your pumpkin out for local wildlife. Squirrels, deer, and birds will enjoy the treat, and it gives the pumpkin another use before it fully decomposes.
Saving Pumpkin Seeds for Next Season (or Snacks!)
Don’t let those pumpkin seeds go to waste. You can either save them for planting next year or roast them for a delicious fall snack. Here’s how:

-
Saving Seeds for Next Season
- Clean and dry the seeds: Separate the seeds from the pulp, then rinse them under cold water. Lay them out on a towel to dry completely.
- Store: Once dried, store the seeds in a cool, dry place in an airtight container. Be sure to label the container with the variety and date.
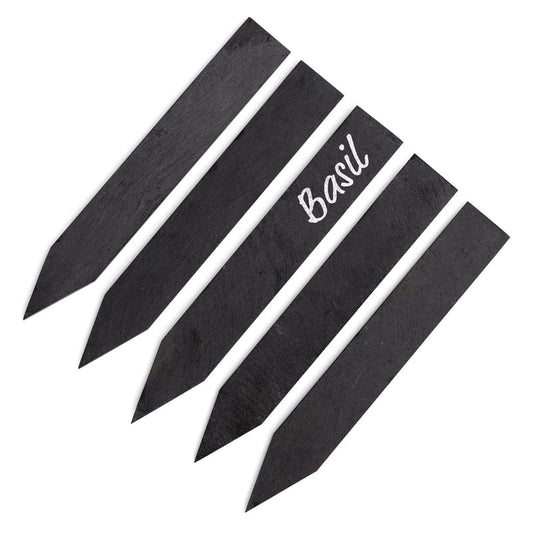
When it’s time to plant them in the spring, be sure to label each planting spot. For this, we recommend Hoselink’s Slate Garden Labels. These reusable labels are perfect for keeping your garden organized and ensuring you know exactly which seeds were planted and where. They're durable, weather-resistant, and stylish, making them a great addition to any garden.
-
Roasting Seeds for a Snack
- Prep the seeds: Rinse the seeds and spread them out on a baking sheet. Toss with olive oil and your favorite seasonings.
- Roast: Bake at 350°F for 15-20 minutes, stirring occasionally, until the seeds are golden and crunchy.
Pumpkin Carving Across USA Gardening Zones
Whether you’re gardening in the temperate Midwest, the hot and dry Southwest, or the coastal Southeast, pumpkins can thrive in most parts of the USA with the right care. If you’re in colder climates, consider starting your seeds indoors to extend the growing season. In warmer zones, make sure your pumpkins get plenty of water and shade from the harshest sun.
With these tips, you’ll be able to grow, carve, and enjoy pumpkins while maintaining a sustainable and safe approach.
Happy gardening and carving!

