It’s that time of year again—November, where the garden is basically giving you the “I’m done” look. For those of us in garden zones 5-7, there are still a few tasks to tackle before officially hanging up our garden gloves for the winter. From ordering next year’s seeds to rescuing dahlias from the frost, here’s what you’ll want to focus on this month. Don’t worry; this list is low-key and designed to keep things easy-going!
1. Order Seeds and Make Next Year’s Garden Plan
Who doesn’t love a good seed catalog? November is the time to start flipping through them and picking out the plants that will fill your garden dreams for next year. I like to curl up with a catalog (or ten) and a pen, circling way more varieties than I’ll ever have space for (Dreaming is free!). You could even start a garden journal to sketch out your beds if you’re feeling ambitious! Just remember: it’s normal to have eyes bigger than your garden plot when it comes to seeds.

2. Digging Up Dahlia Tubers
If this is your first time digging up dahlia tubers, don’t worry—it’s actually pretty simple once you get the hang of it! Dahlias are tender perennials, meaning their tubers (which look a bit like sweet potatoes) need to be dug up and stored indoors in cold climates if you want them to survive the winter. Here’s a step-by-step breakdown:
-
Step 1: Wait for the Right Time
The best time to dig up dahlias is after the first frost. You’ll know it’s time when the plant looks a bit wilted or blackened from the cold. The frost signals the plant that it’s the end of the growing season, so the energy it would usually use for flowering has gone down into the tubers. This makes them stronger for winter storage.
-
Step 2: Cut Back the Plant
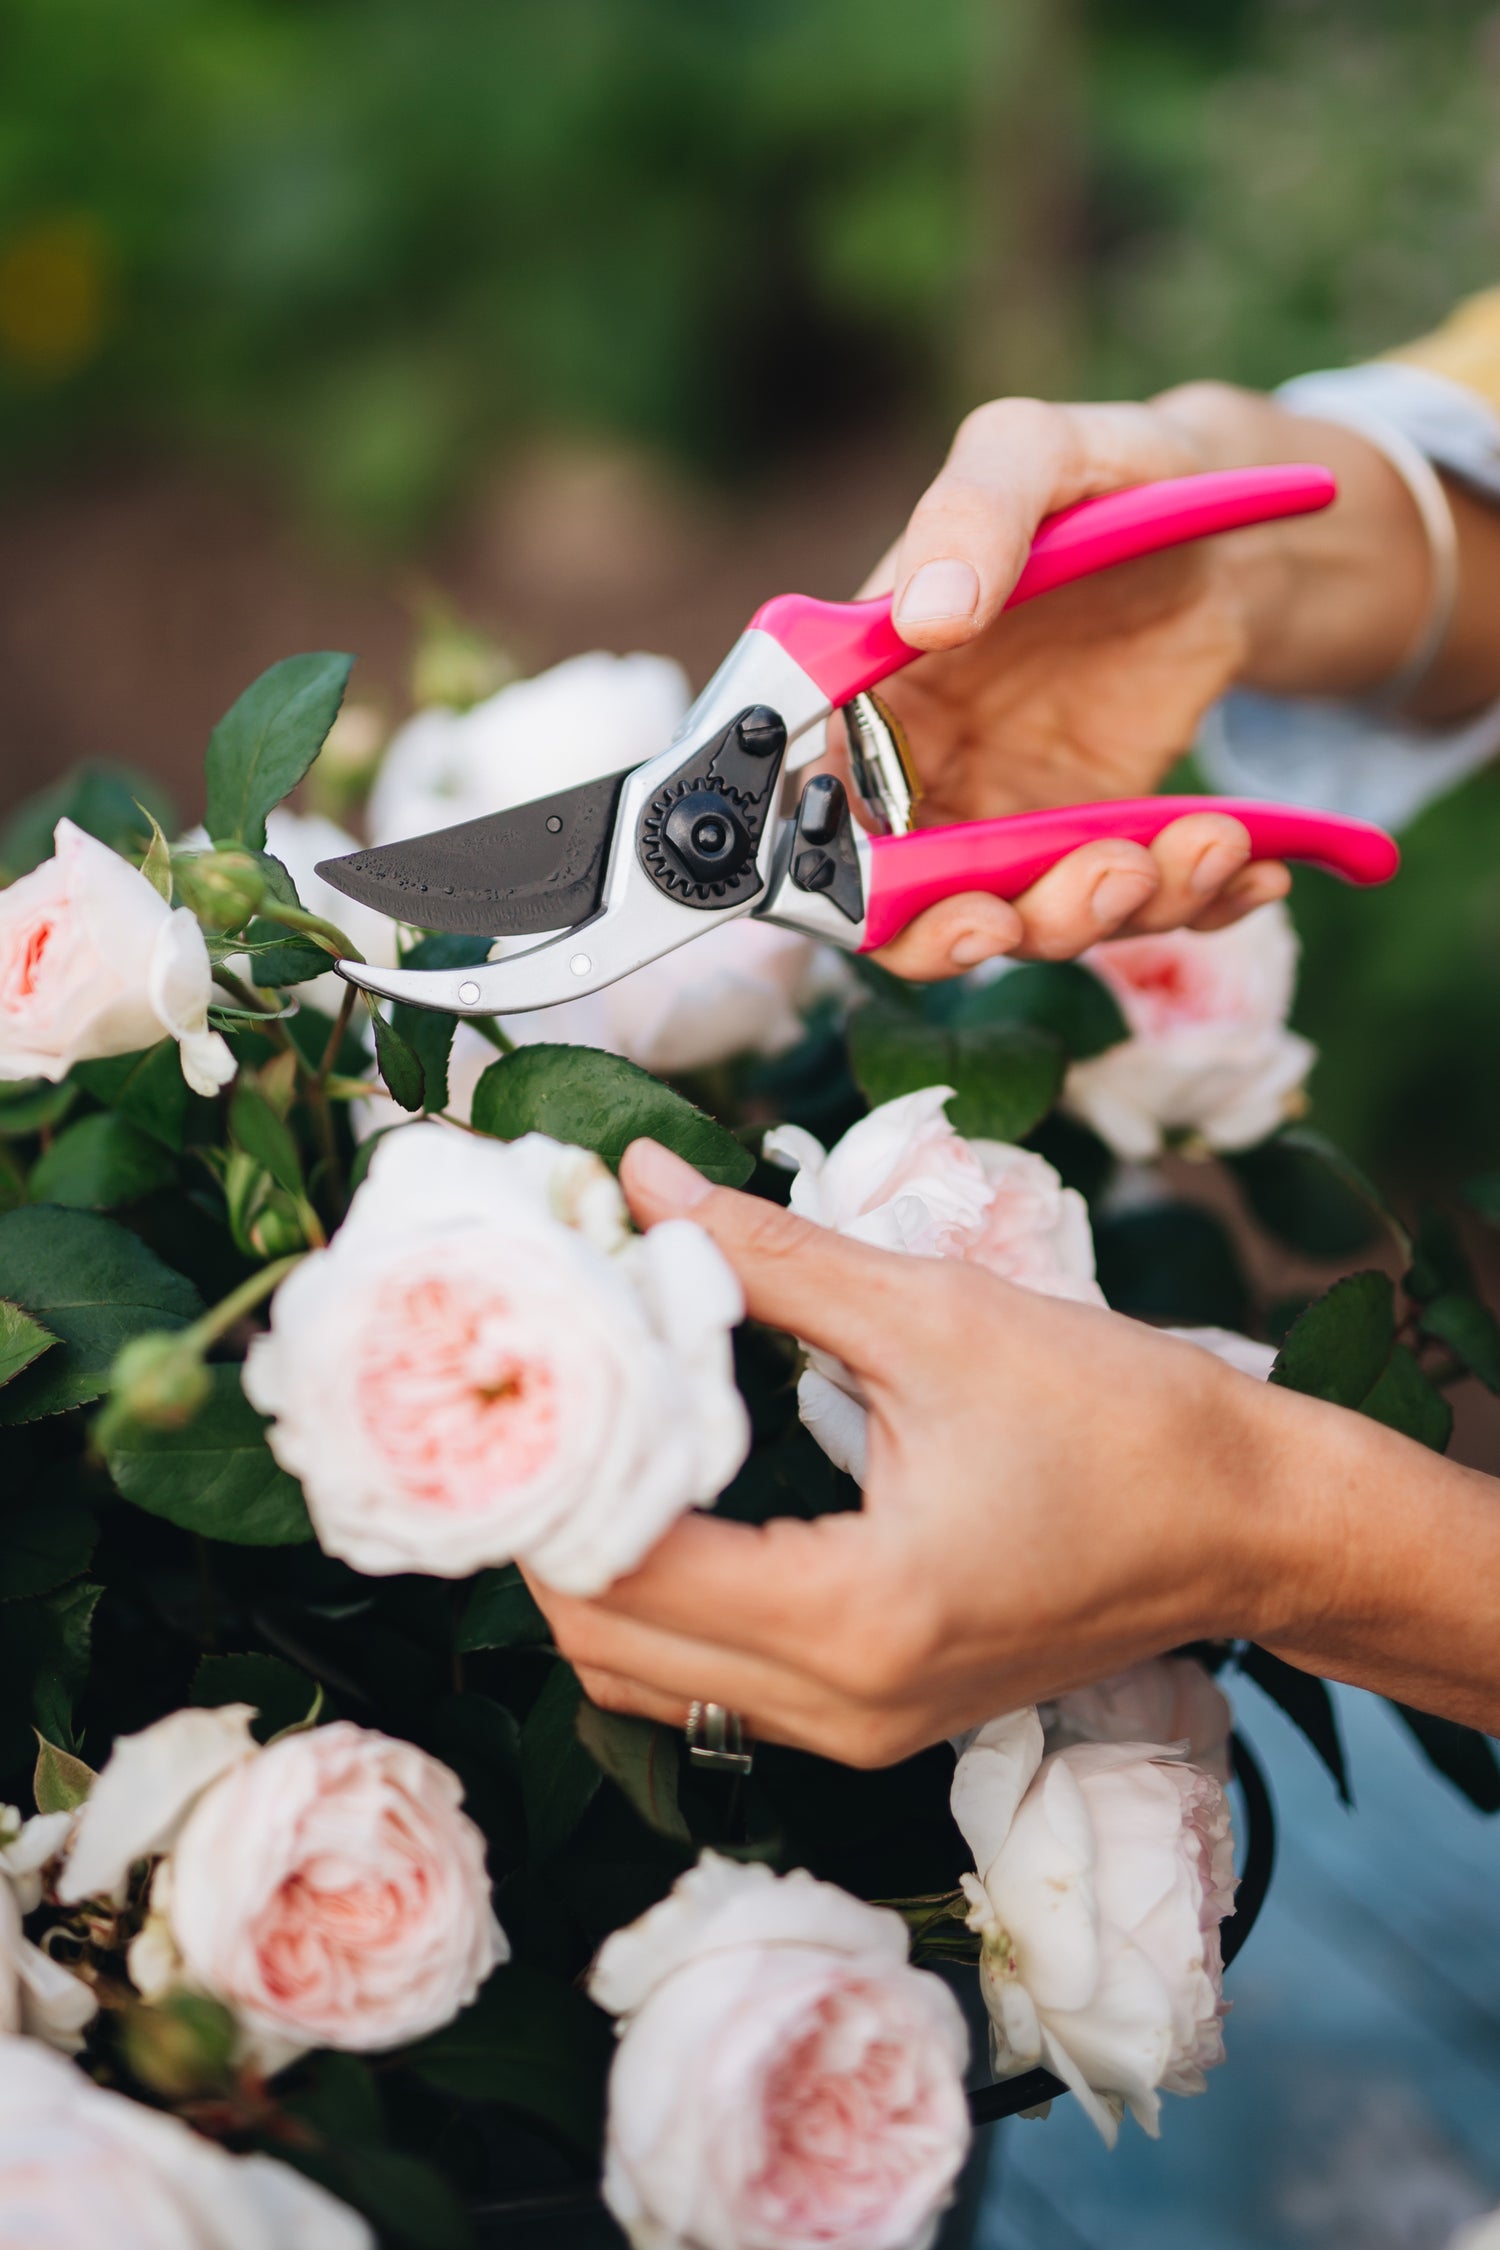
Using a pair of clean, sharp pruners, cut the dahlia stems down to about 4–6 inches above the ground. Don’t worry—this won’t hurt the tubers. It just gives you a clear spot to dig around and prevents damage to the tubers when you start digging.
-
Step 3: Loosen the Soil Around the Tubers
Next, grab a garden fork or shovel and start digging a few inches out from the main stem. You want to avoid cutting into the tubers, so be gentle! Push your tool into the ground and gently rock it back and forth to loosen the soil. Work your way around the plant, making a wide circle around the stem so you can lift the tubers up from all sides.
-
Step 4: Lift the Clump of Tubers Out of the Ground
Once the soil is loosened, carefully lift the entire clump of tubers out of the ground by pulling on the stem base (if it feels solid enough) or using your hands to gently pry the clump out. Try to keep as much of the tuber clump intact as possible.
-
Step 5: Remove Excess Soil and Let the Tubers Dry
Shake off any large clumps of soil, but don’t rinse them with water just yet. If it’s a dry day, let the tubers sit out in a shady spot for a few hours to let them dry out a bit. The goal is to remove any remaining moisture, which can cause rot in storage.
-
Step 6: Clean and Separate Tubers (Optional)
If you’re feeling extra ambitious, you can separate your dahlia tubers now, though it’s totally fine to wait until spring. Look for tubers that have a “neck” connecting to the stem and at least one visible “eye,” which is where new growth will sprout. If you cut the clump apart, use a clean knife to prevent spreading any disease.
-
Step 7: Store Tubers in a Cool, Dry Spot
Once the tubers are dry, find a container with good airflow, like a cardboard box or a plastic crate. Layer the tubers with slightly damp peat moss, wood shavings, or even sand to keep them from drying out too much. Place the container in a cool, dry spot—ideally somewhere between 40–50°F (like a basement or an unheated garage). Check on them every month or so; if they’re shrivelling, give them a little mist of water, and if they look mushy, remove any that show signs of rot.
Storing dahlia tubers for the winter is a process that may take you a few takes, I have been doing this for a few years now and I am still learning the best way possible for achieving this, do not feel discouraged if you fail the first time.
3. Seed Swapping with Friends
I’m always on the lookout for new seeds, and nothing beats getting them for free! November is a perfect time to reach out to other gardener friends or find local seed-swap groups. It’s like gardening's version of trading baseball cards, only we’re way more excited about a cool tomato variety than a rookie card. Not only is it fun, but you get to share in each other's successes (and laugh over the flops!). Plus, there’s something special about growing a plant that a friend passed down to you.
4. Pruning Paniculata Hydrangeas
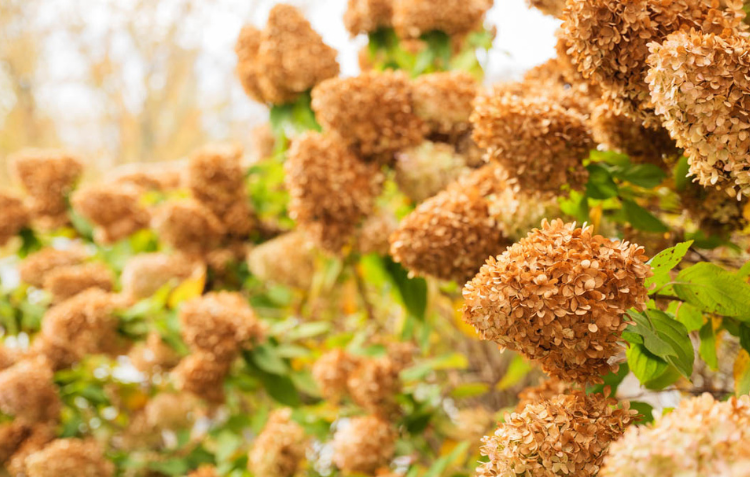
Paniculata hydrangeas can technically be pruned now since they’re probably looking a bit “autumn chic” with those brown, crispy blooms. But you don’t have to. In fact, I like to leave mine up until spring so I can enjoy how those dry blooms look covered in a layer of snow. It’s like nature’s way of giving us a little winter garden interest, and hey, it saves me one more task to deal with now.

5. Bring in Your Hose Reels – Because Frozen Hose Reels Aren't Fun
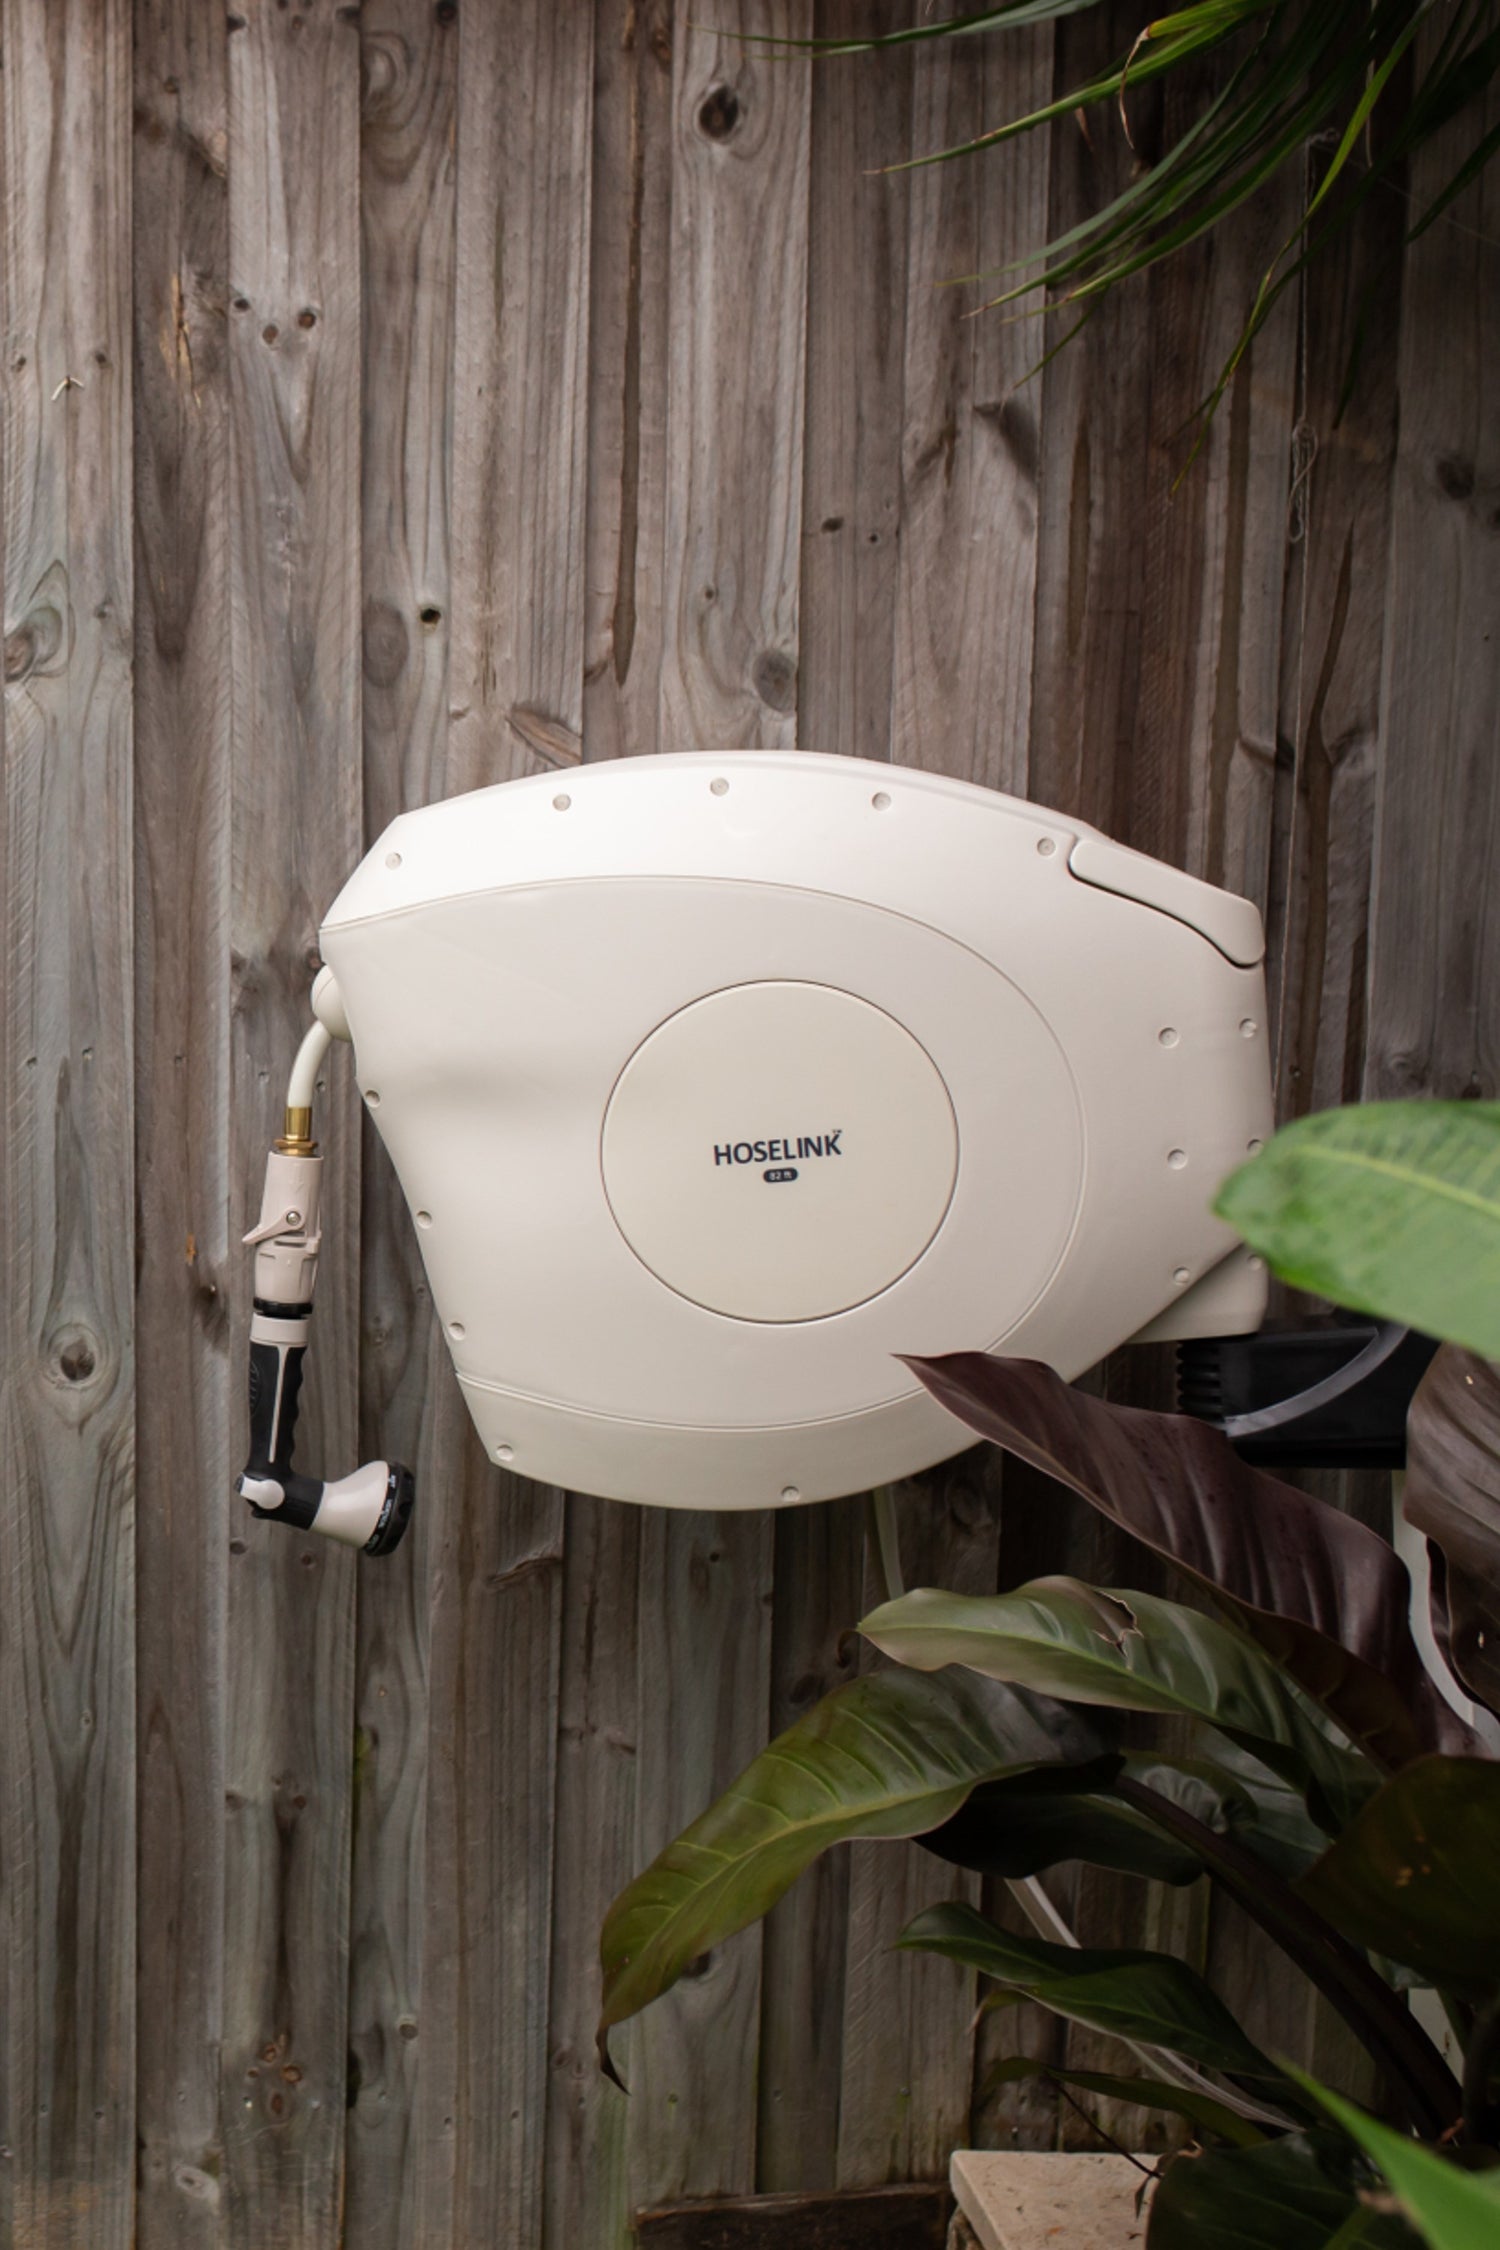
If you haven’t done it yet, it’s time to give those hose reels a cozy winter home in the garage or shed. Trust me, a frozen hose reel is a sure-fire way to end up with cracks and leaks in spring (ask me how I know). So do yourself a favor, roll them up nice and snug, and store them somewhere out of the elements. Your future self will thank you.

6. Cleaning Up Hostas and Other Perennials for Winter
By November, hostas and most other perennials are looking, well, a little worse for wear. Their leaves have yellowed, collapsed, and are now just hanging around like crumpled reminders of warmer days. Clearing out those dead leaves not only tidies things up but also helps prevent pests and diseases from overwintering in your garden. Just pull off or cut down the faded leaves at ground level, and voilà—you’ve given your garden beds a fresh, clean start. Consider it the garden version of a good closet clean-out before the new season kicks in!

And that’s it! These tasks will keep you busy enough to feel productive, but you’ll still have plenty of time to relax and dream about next year’s garden.
Happy cozy gardening friends!

