Growing perfectly ripened tomatoes that are aromatic, deep red and unblemished are seen as the ultimate trophy for many fruit and veggie growers. Under the right conditions, tomatoes are actually quite easy to grow, but formulating those conditions takes a considered approach as keeping your plants healthy requires art, science and even a bit of luck. It doesn’t end there though, once you’ve harvested your crop, the question then becomes what you do with them! From planting and harvesting to preserving and cooking, upholding the best practices will ensure success and give you a head start on next year's crop too!
What you need to know before starting
Tomato plants are tender, warm-season crops that thrive in sun and struggle in frosty conditions. You’ll want to make sure you don’t put your plants in the ground too early in the year as the soil is not warm enough to plant tomatoes outdoors until late spring and early summer in most regions, except in zone 10 where they are a fall and winter crop.
Tomatoes take between 60 and 120 days to harvest, depending on the variety, and due to their longer growing season requirements, many gardeners plant small starter plants or ‘transplants’ instead of seeds once the heat turns up in spring. Most gardeners buy their transplants at a garden center or plant nursery, however, you can definitely grow your own from seed indoors.

Picking the right variety
From giant beefsteaks all the way down to tiny cherries, tomatoes come in many shapes, sizes, and colors. While some of it comes down to weather patterns in your area as well as personal preference, there's one important distinguishing factor that every gardener should know, and that’s the difference between determinate and indeterminate tomatoes.
Determinate tomatoes tend to fruit over a two-week period and then come to a stop, making them great for canning. They’re also more compact, meaning they're a wise choice for smaller container gardens. Indeterminate tomatoes grow long vines and produce more bounty, flavorful fruit right across growing season. Most common varieties fall into this category, including the ever-popular heirloom tomato.

Planting
If you are using your own seeds, plant them ¼ of an inch deep and 1 inch apart, and placed in a warm room that’s exposed to sunlight. Once the seedlings are able to produce their second set of leaves, transplant them to plastic cups, burying the stems deeper than before and ensuring they are adequately submerged in soil. This promotes a strong and healthy root system. If you're buying transplants from a nursery, it’s best to allow them to develop a sturdy root system before you begin planting.
Hold off on planting into the ground until warm temperatures become more consistent on a daily and weekly basis. When selecting a spot in the garden, look for a spot that receives direct sunlight. You’ll want to dig holes that are at least 2 feet apart, stabilizing the plants so that the lowest set of leaves on the plant sit resting at soil level. Some may opt to bury almost the entire plant, as fresh roots will appear on the stems and grow more fruit later on. Following this process, fill your holes with a combination of compost and soil, as covering the bed with a layer of mulch, straw, or grass clippings will prevent weeds from popping up.
If you’re running with seedlings, you’ll need to “harden off” the seedlings for approximately one week before transplanting them into the ground. Find a shady spot outdoors and sit them for a few hours on the first day, then slowly increase the amount of time each day that they spend in direct sunlight.
You also have the option of growing your tomatoes in containers! Use one at least 20 inches in diameter along with 12 inches of loose, well-draining soil. Ensure that drainage holes are positioned at the bottom, along with a catchment tray placed underneath the pot to catch water. You’ll want to use determinate tomato types so that they can fit in their smaller home and allow for at least 6 hours of sun per day. The one thing to be weary of is that containers will dry out at a faster rate than garden soil, so check on a regular basis and provide extra water during hotter periods to keep your soil moist.

Watering
We advise that you water early and deeply in the morning so that your plants have enough moisture to make it through the heat, this is especially important in the first week after planting the seedlings or transplants in the ground. As the growing season progresses, water with about 2 inches (approximately 1.2 gallons) per square foot per week. With a deep watering approach, you’ll put your roots in the best position to develop properly. If possible, steer clear of overhead watering and make sure to water at the soil level of the plant to avoid splashing water on the plant’s leaves (which can lead to disease).
Fertilizing/Mulching
Before planting, ensure you have layered some compost into the soil before planting, or added some bonemeal to the desired spot if transplanting.
Once you’ve noticed your tomatoes have grown to roughly the size of a golf ball, we recommend applying a liquid seaweed or organic fertilizer once a fortnight until frost. It’s best to avoid fast-release and high-nitrogen fertilizers, as they will work against the natural growth patterns of your tomatoes and may even result in oversized foliage without any tomatoes themselves!
Apply between two to four inches of organic mulch such as straw or bark chips approximately four weeks after transplanting to hold moisture. To boost your tomatoes throughout phases of drought, see if you’re able to find an object with a flat surface (rocks if possible) to lay around your plants. This will help to prevent evaporation.

Harvesting
We advise you to leave your tomatoes on their vines for as long as possible. The best way to tell if they’re ready to be picked is by the look and feel of them. If they’re firm with a little bit of give, as well as deep in color with a nice shine, then they’re ready to go! That notion applies to all colors, irrespective of size and shape!
If temperatures begin to fall and your tomatoes just don’t seem to be ripening, try pulling up the whole plant, wipe off the dirt, cut and remove the foliage, and hang the plant upside down in a warm spot. Or wrap them in paper and place them in a cardboard box. Check regularly for ripe fruit and diseased fruit as you go.

Tackling problems with tomatoes
If you find that your tomato plants are not growing appropriately, it's most likely a sun or water issue, as ensuring your plants are getting the right balance takes an eye for detail.If your plants are generating lots of flowers without the fruit, the cause may be inadequate light, inconsistent watering and temperatures, or a lack of pollinators. However, if flowers form but drop off the plant, this may come as a result of overheating (try relocating your plants to a shadier spot!)
Tomatoes are also susceptible to unwanted pests. While we can’t eliminate them completely, we can keep them at bay. Try the following:
- Check your tomato plants daily, looking under leaves, around the fruit, and around the soil.
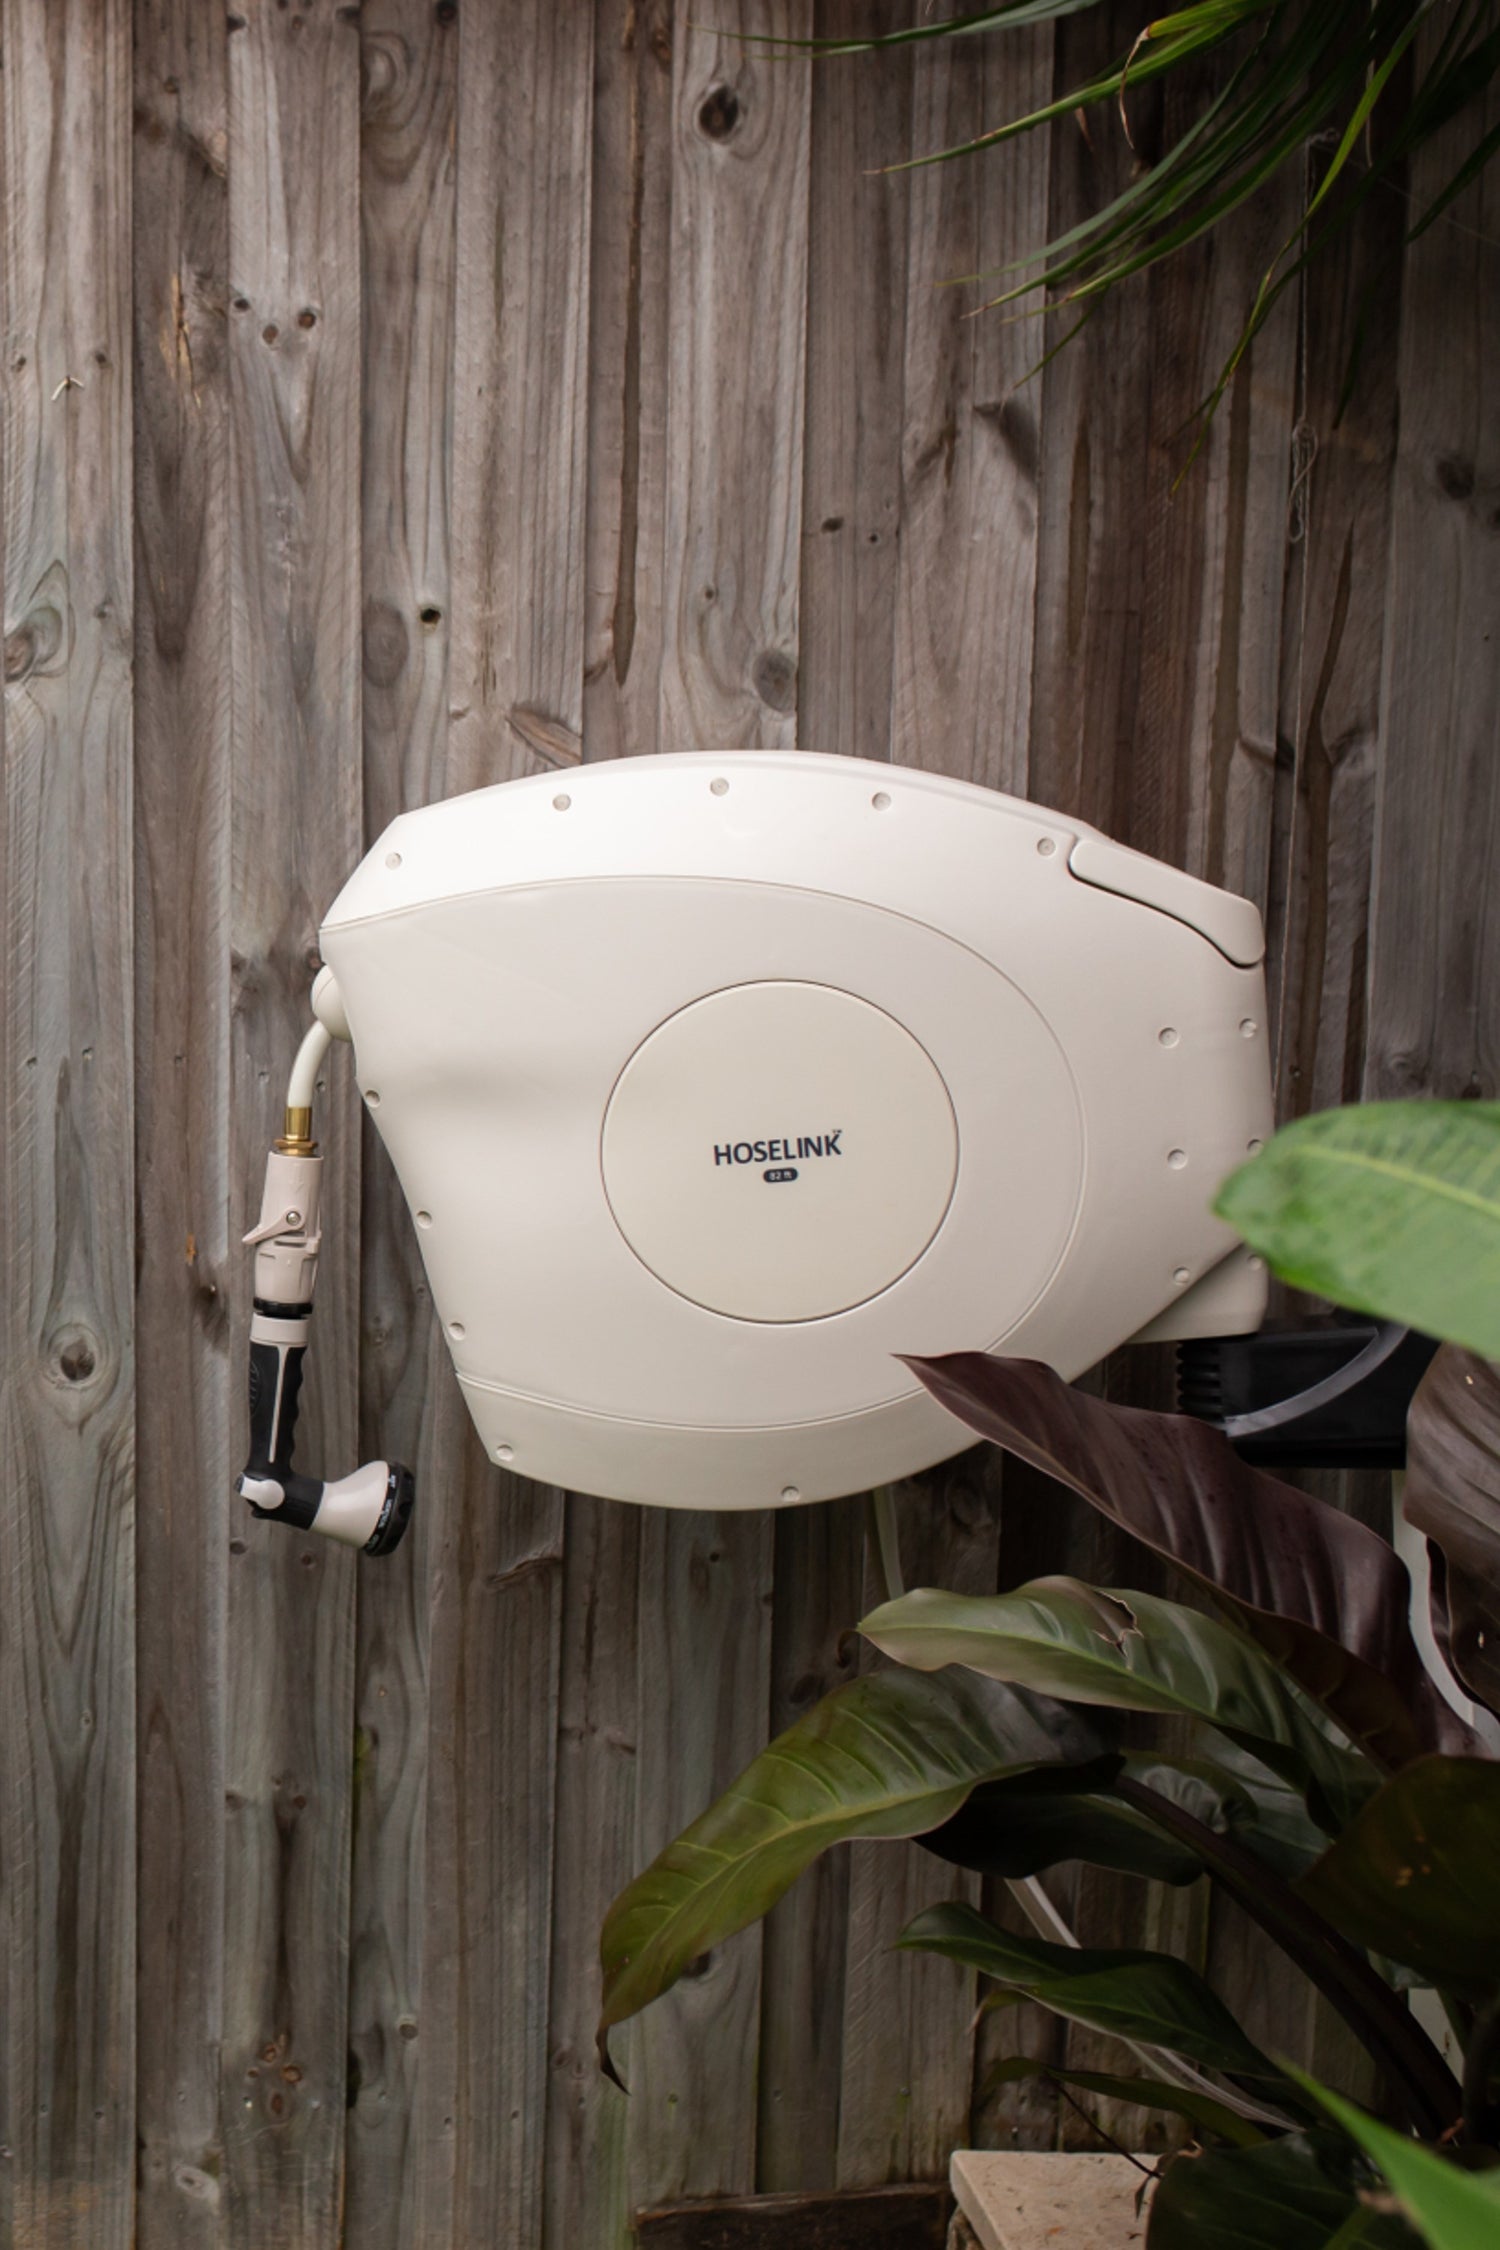
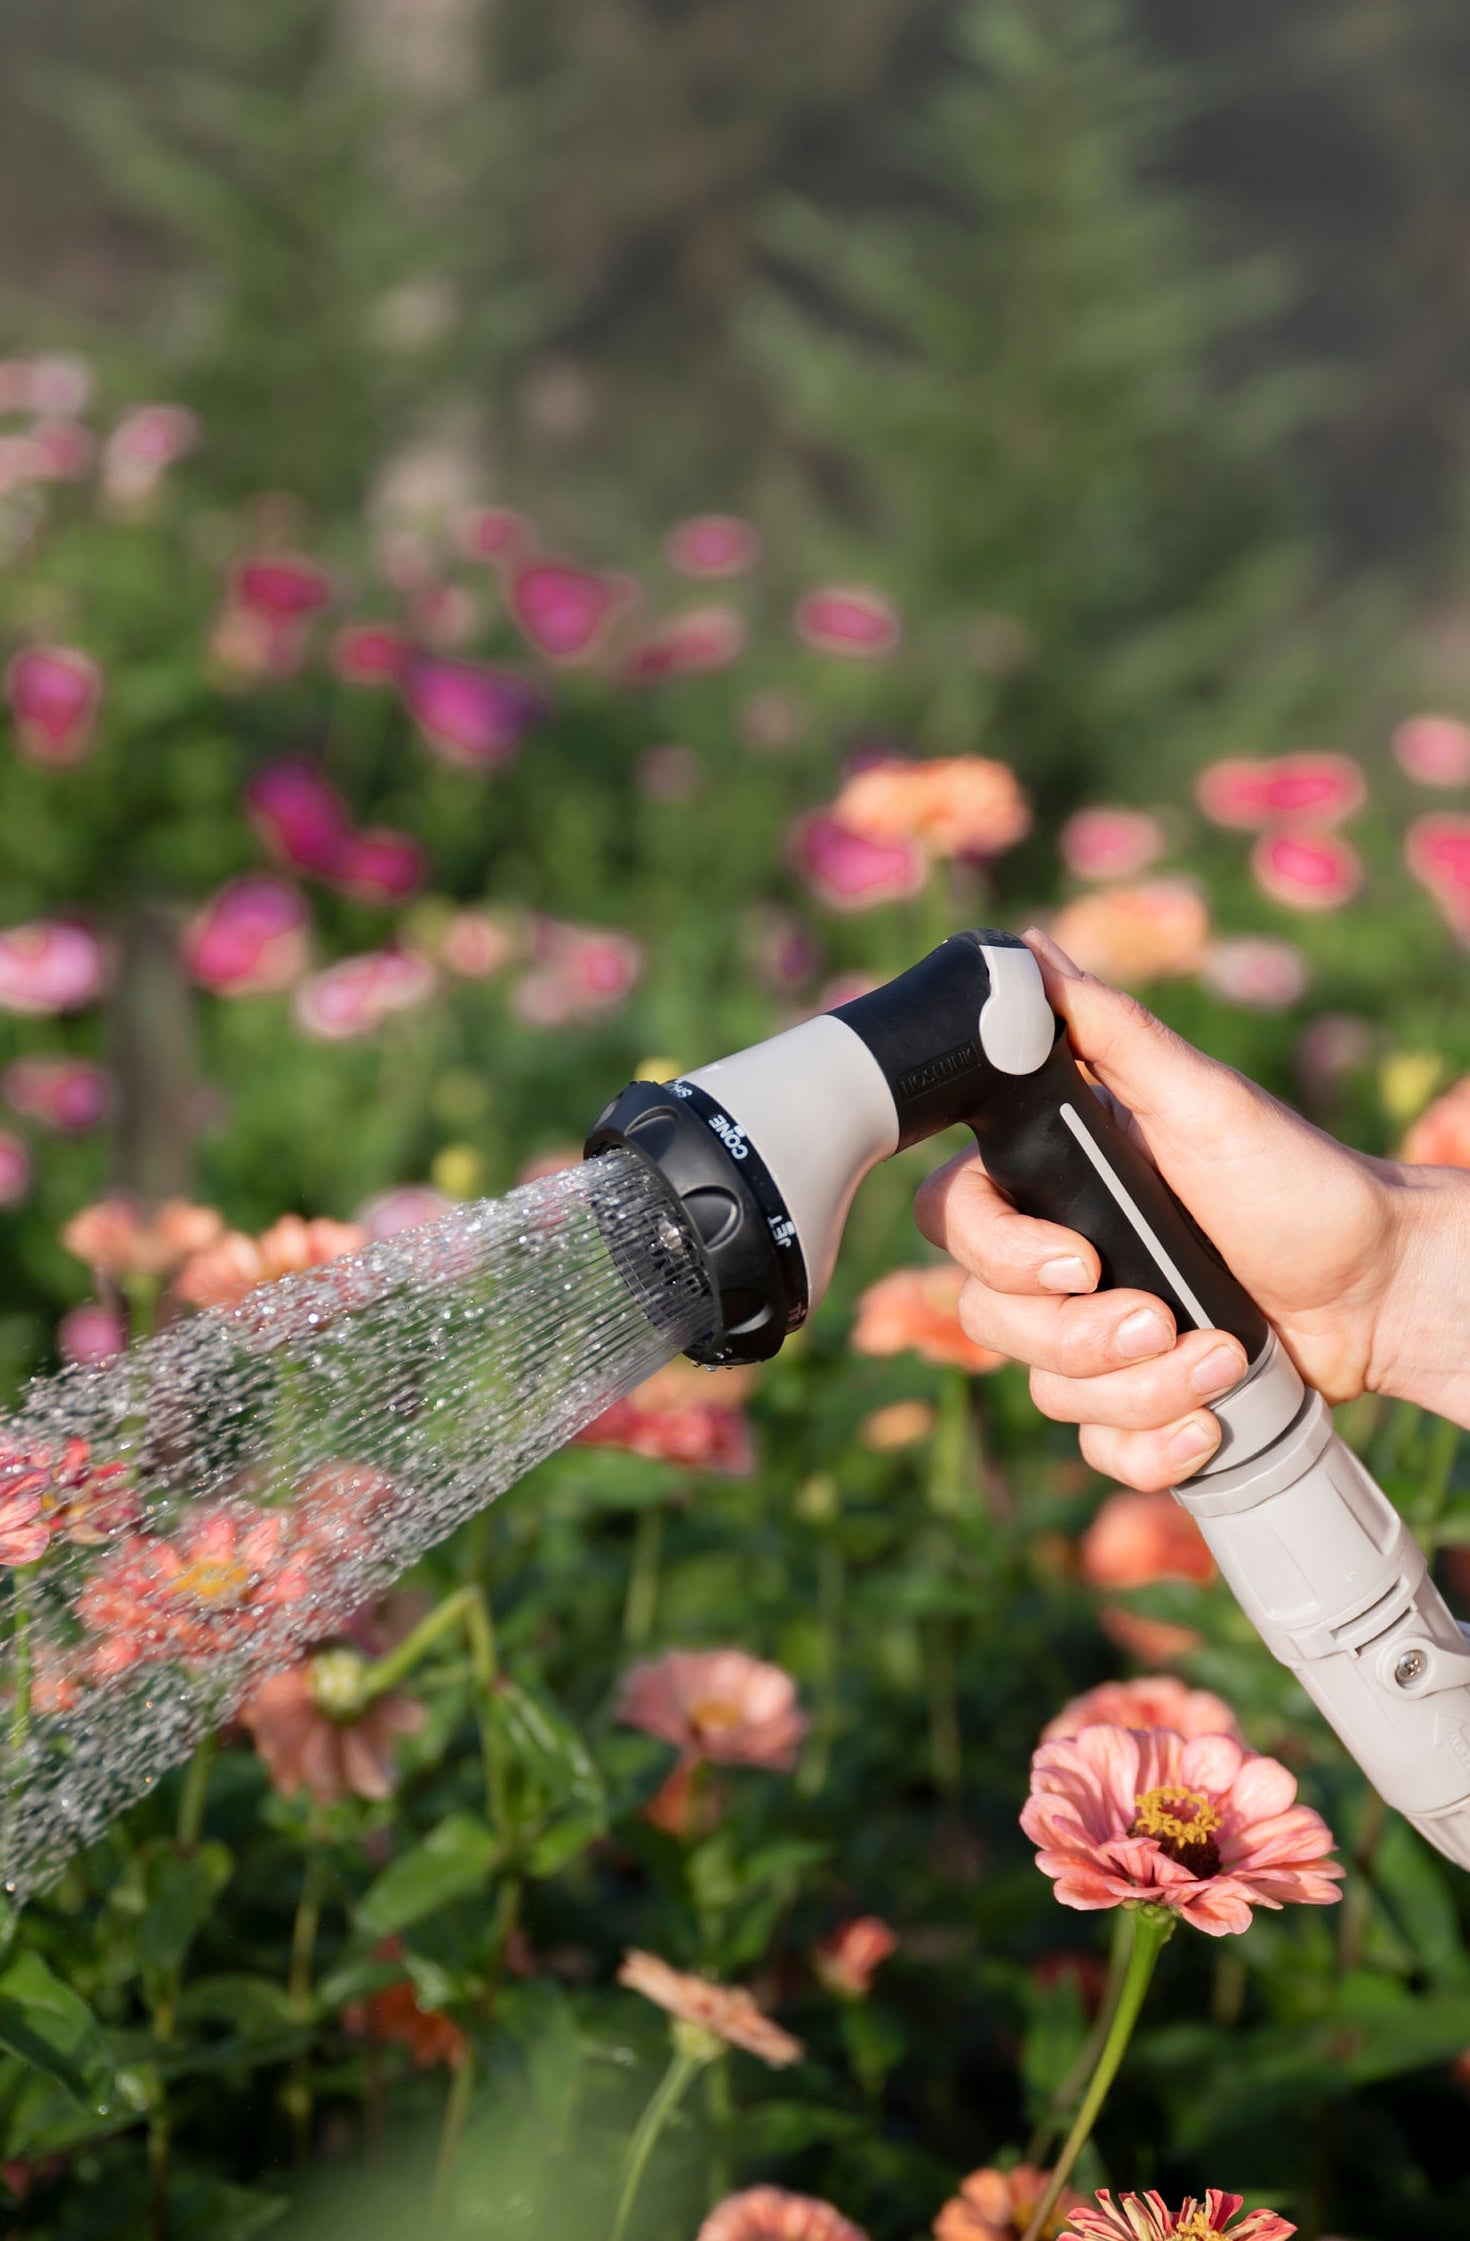
- Spray your plants with a strong stream from your retractable Hose Reel to remove aphids.
- Apply insecticidal soap directly your plants.


