Did you know the best time to start your seedlings for Spring is late March through to late May? In other words, it’s time to get a jump on this peak timing we have on our hands!
What does it mean to grow a seedling you may wonder? Growing from seed means quite literally starting from the very beginning, with a handful of seeds. The seeds will then pass through several stages to then eventually turn into a flourishing plant. Seeds can form fruit, vegetables, flowers or even grass lawns. While growing from seed can seem intimidating, it can be an incredibly rewarding process as well as a valuable learning curve for many gardeners.
Getting Started
Thankfully, there isn’t too much equipment required when it comes to starting your seedlings. Whether you choose to start with several different varieties or just one at a time, there are a few things that can make it easier. Consider some plant labels: you can purchase our plant labels or, use a label maker to stick the name to the outside of the seedling, this will help you to keep track of each seedling and its requirements in terms of watering and other needs. You’ll also need to purchase some seedling starting mix, your choice of seeds and a spray bottle. Furthermore, a seed starting tray (with drainage capabilities) is a must-have, as well as seedling pots. Some people choose to create some DIY newspaper seedling pots for ease of transfer when they are ready for the garden. The choice is entirely yours. However, if you’re not into DIY, you can also re-purpose some existing cups you may have and use those instead! Egg cartons with a hole punched into the bottom of each seedling space also works well as a seedling tray.

Once you have your seedlings ‘home’ ready to go, prepare your seedling starter mix. You will want to mix it with some water until it's damp and then place a small amount in each pot or container you are using. Then, add your seeds. Add them into the soil mixture, not too far down, just far enough that they are resting in the mix. Ensure you read the seedlings packet instructions so that you can provide it with light or darkness if necessary. Place your seedlings in a warm area in the home. Since sunlight isn’t necessary when starting out, this can be wherever suits you best and somewhere you won’t forget about them!

The Environment
To have the best success with seedlings, some environmental factors should be considered, especially before deciding on a location where you’ll keep them. If you are unsure if your outdoor area is suitable, starting your seedlings indoors is a great way to begin, as the environment is easier to control. Furthermore, if you’re a beginner it’s easier to keep an eye on the seedlings. When it comes to temperature, each seedling will have an optimum temperature to reach before it germinates. Typically, this will lie between 68- and 86-degrees Fahrenheit.
Once your location has been decided, evaluate how much sunshine will be available to the seedlings. Some seed varieties require light, but many do not. Do keep in mind that once germination has happened, your plants will require a certain number of hours of light per day. In the early stages, your seedlings will require some humidity, this can be done by placing a plastic wrap over the top, or half of a soda bottle, whatever works for you. They can also be purchased at garden centers or online. Poke some holes in your cover to ensure there is still air circulation. Humidity will help your seedlings retain moisture, although, too much humidity will cause your seedlings to appear floppy and unhealthy. Keep a close eye on them and how they respond to the humidity. You will be able to remove the cover once the seedlings have sprouted.
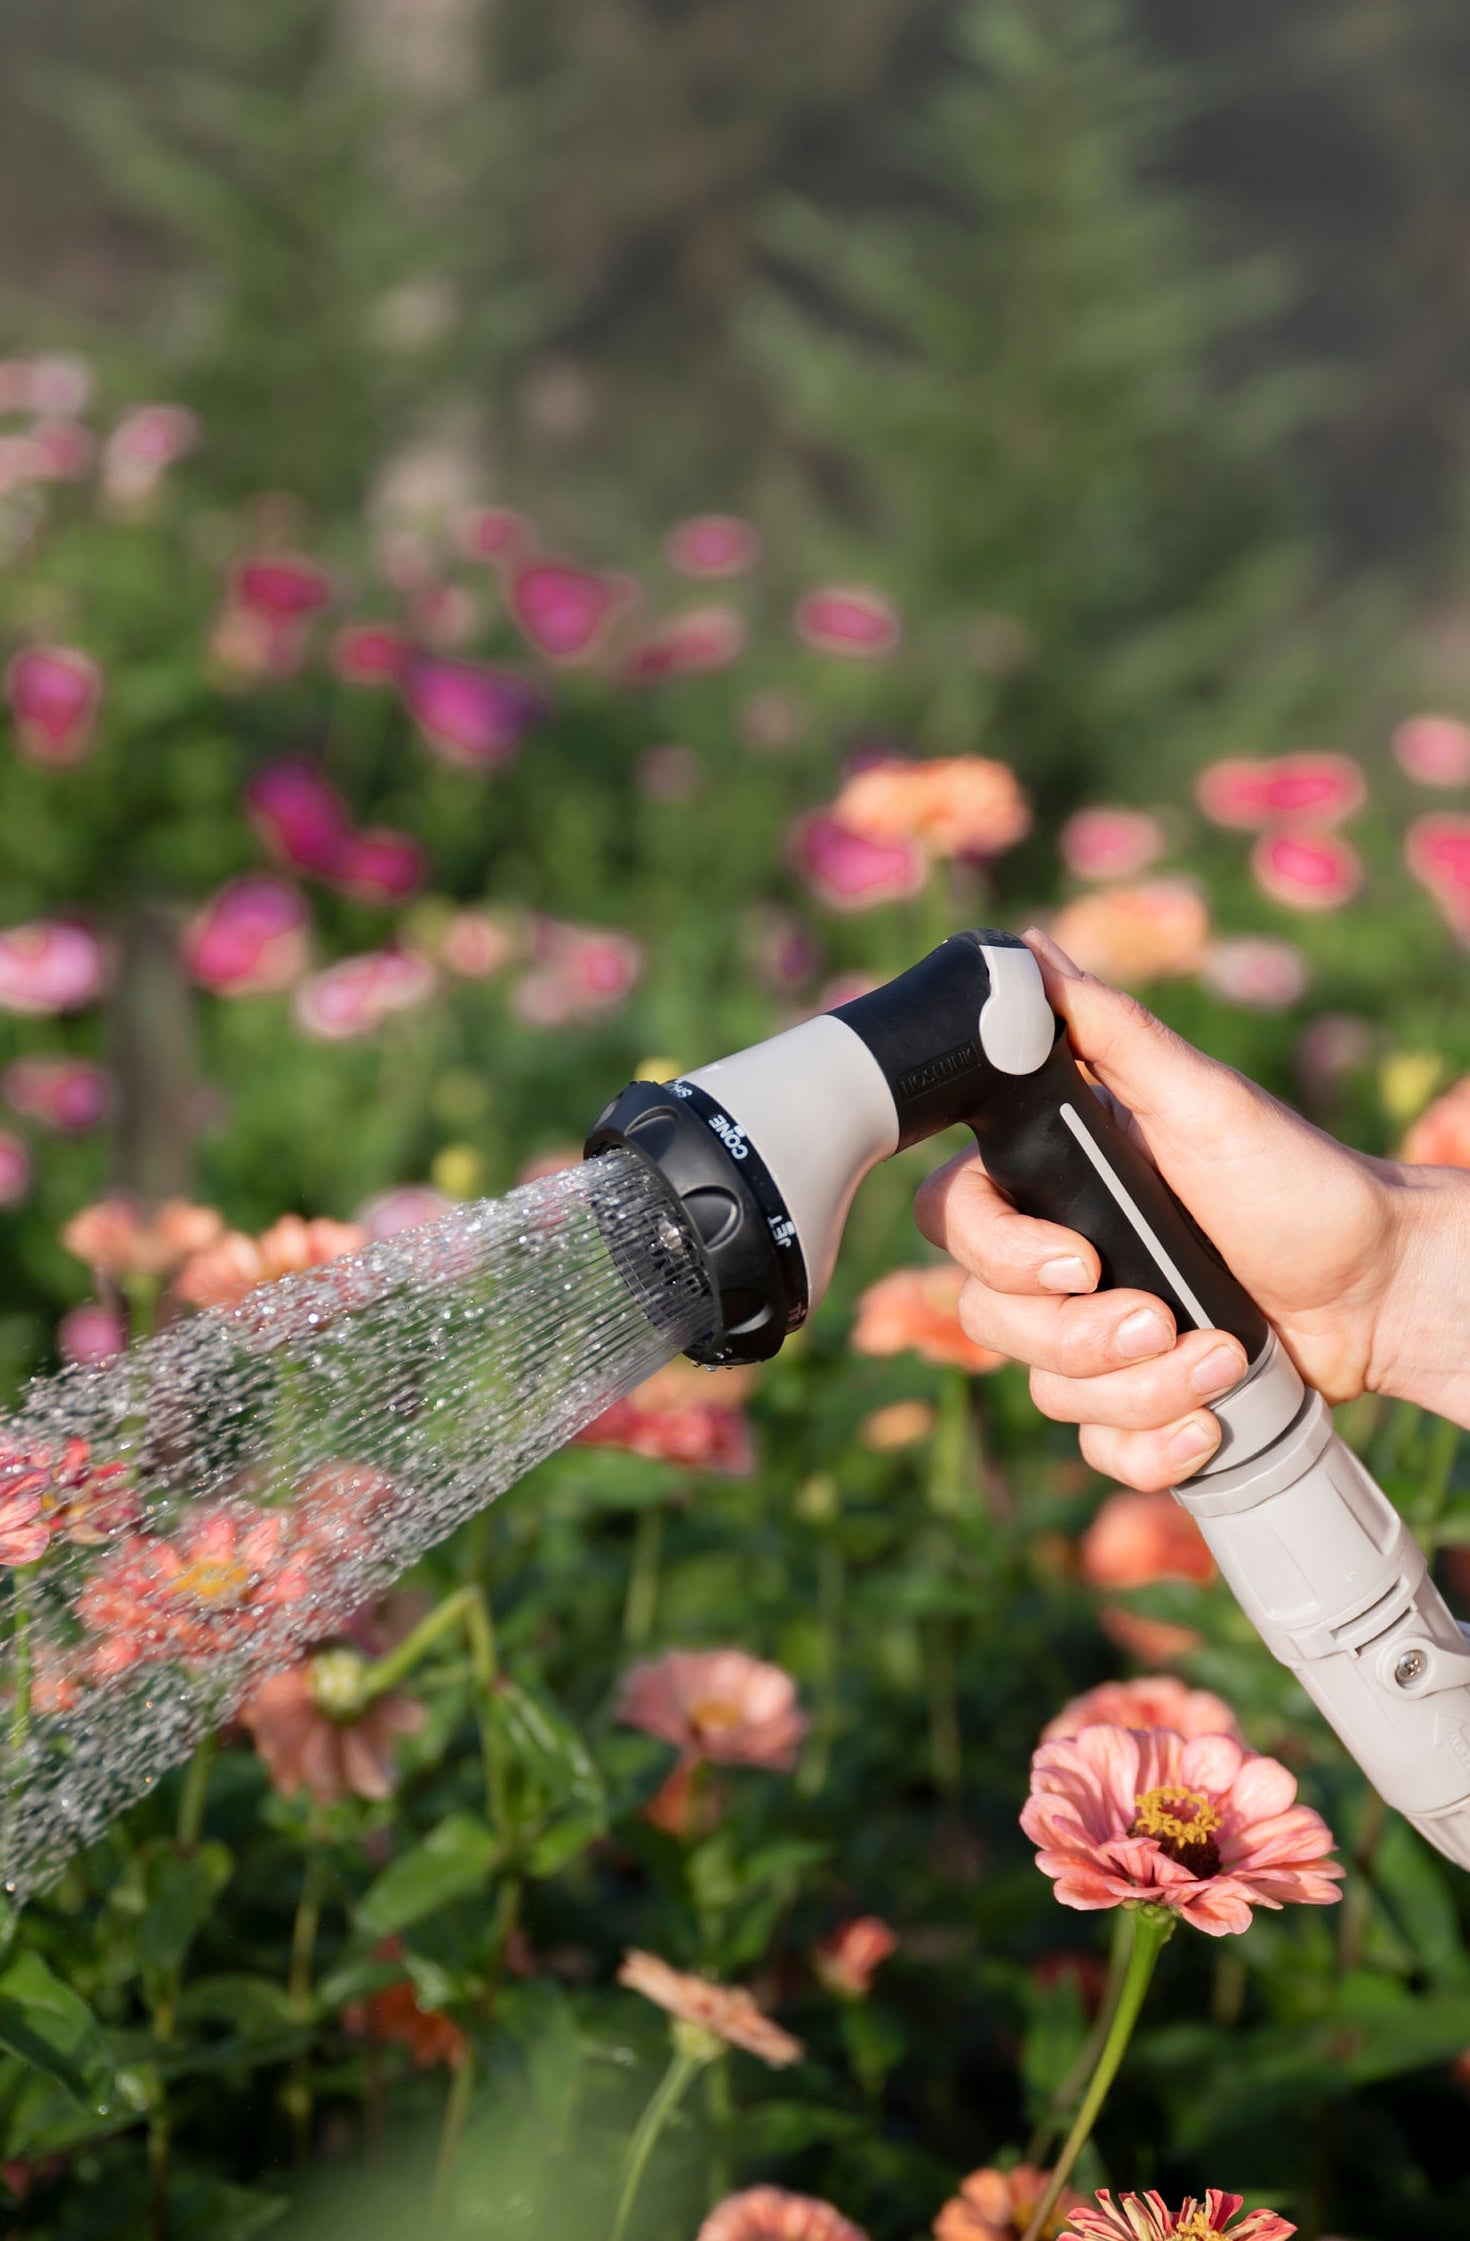
Lastly, provide your seedlings with enough water. It is important to ensure your seedlings are moist, but not soggy. Check the soil once in the morning and once in the evening, ensuring the top of the soil is dry before watering again. Use a plant misting can or your spray bottle to do this, ensuring watering is done gently.

The Stages of a Seedling
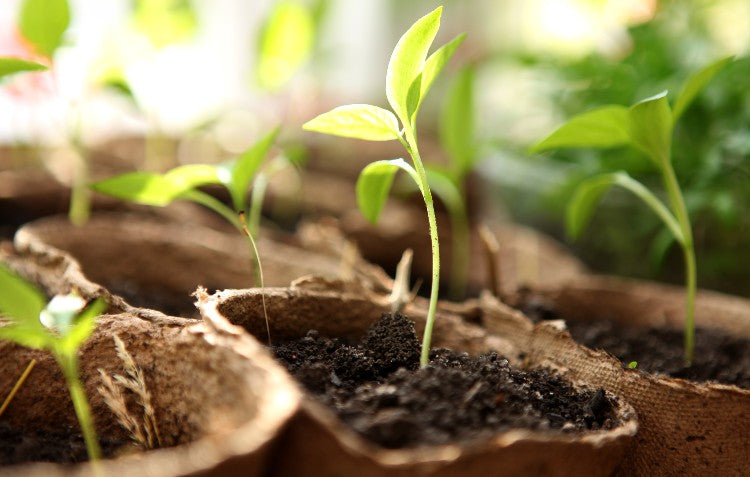
The first stage of a seedling may not feel too exciting, but it won’t be long until you see your seedlings start to sprout! This usually occurs within a few days to a few weeks after placing your seeds in the soil. Germination should happen within three weeks of planting, but if not, start over with a new set, seedlings can be fickle and require very specific climates to be successful!
After germination, move your seedlings to a window sill if they aren't there already. This will help them adjust to a more natural climate. Continue to water them as needed, using your judgement to tell how often they need it.
When you start to see your seedlings develop leaves, it's time for the big leagues! Moving out of their small seedling home, into a slightly larger container. Keep them inside for a few more weeks, take them outside during the day and inside at night to increase their strength. However, it is time to put them into the potting mix. Make sure you do spend the extra few dollars for the premium mix when the time comes, it's packed with nutrients for your seedling's best chance at success. Once your seedlings have had some time to adjust to outside conditions, it's time to move them to the garden. This should happen when seedlings are at their strongest. Don’t forget your seedlings are still delicate, so handle them with care when transporting.

Caring for a Seedling & Long-Term Expectations
Once your seedlings are outside, thankfully the hard part is over! Caring for them should get easier and easier over time. Seeing a seedling develop into a thriving plant can be incredibly rewarding. You can start to incorporate an organic fertilizer of your choice on occasion, this can be helpful if you see your plant looking a bit down.
Not all seedlings will be successful, and that’s okay! One of the main reasons to try growing seedlings is to learn more about a plant and its lifecycle.
Ideas and Inspiration
Seedlings are an excellent way for kids to learn about the way plants grow! Try to start a seedling garden as your next rainy-day activity.
Try using recycled tins for your seedlings, wrap them in a newspaper or your choice of paper for a sustainable art project and seedling experiment in one!
Allow the experiment to help you on a journey to up-cycling! You can turn so many things into a garden these days, it’s a great way to use your unwanted homewares and add some greenery to your home.
There you have it! Our guide to starting your spring seedlings, good luck!

